Friday, April 16, 2010

Blog Swap with The Creative Crate!

We are so excited to have Stacie from The Creative Crate here today! We have been followers of her blog since we started being obsessed with craft blogging. After you finish reading this amazing tutorial, be sure to check out her blog for other great ideas. Here she is with her adorable picture holders!

Hi ScraPs N' StriNgs Readers!!

It's Stacie...the craZy one behind The CrEaTiVe CraTe...and I am ExciTed that Sammy & Ruth invited me to swap with them today!! Don't they have an AwEsOme blog?!!
LoVe those aprons they make! AdoRaBle!
I am a SAHM with 4 beautiful and FuN kids {2 boys & 2 girls}...and wife to one awesome man!
I absolutely LoVe doing crafts in my spare time! I love creating things from nothing...going to yard sales...and browsin' antique and thrift stores in search of treasures that I can transform!
Sammy asked me if I would share one of my favorite tutorials... and I think {by far} this is my favorite :
Cupboard Door Picture Holder!

Here are the supplies that I used to do this project...
and...an old cupboard door!
First...sand & paint your cupboard door. {mine was already white} Then...I wiped stain (Minwax dark walnut) with a rag on all the edges...
Then...drill your holes for the ribbon...

Add your ribbon and tie in a bow...


Then...using E-6000 glue...glue your magnetic clip to were you want it. I used a 8x10 picture...so I glued my clip wherever the picture looked centered. {Tip: If the bottoms of your picture start to curl up...I used a little tape to hold mine down...or you could also use photo corners}


Then...for hanging...I just use the ribbon that is showing in the back...to hang on a nail!
So CuTe...and So SiMpLe!!

Sooo...come on over and check out some other FuN ideas I've got going at the CraTe... I'd LoVe to have ya!!
Sammy & Ruth...thanks so much for letting me take over today!! You guys are awesome!!
Have a Great Day Everyone!!


Don't forget to check us out at The Creative Crate today!
Thursday, April 15, 2010

And The Winner Is...

Rebecca Hermsen!! 
You have been chosen as our Fabulous Follower!! Congratulations! Please contact us and let us know which Fab Prize you would like. We need a response by the 22nd or we will have to pick another winner. We can't wait to hear from you!

Tuesday, April 13, 2010

Face Steam. YUM!

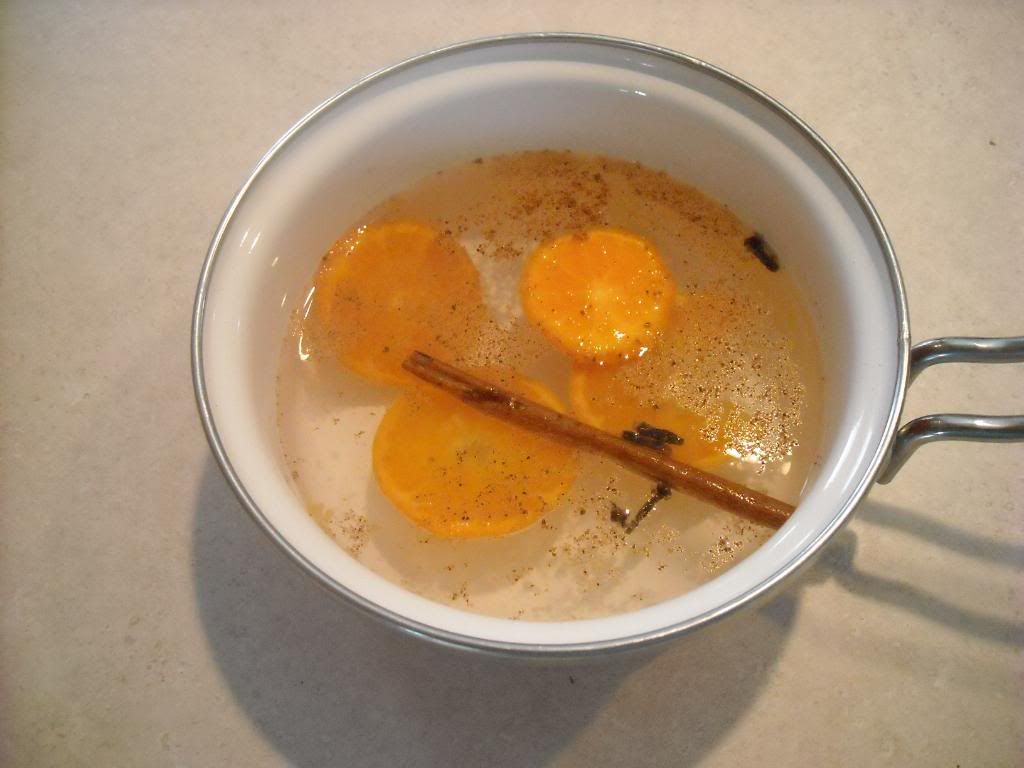
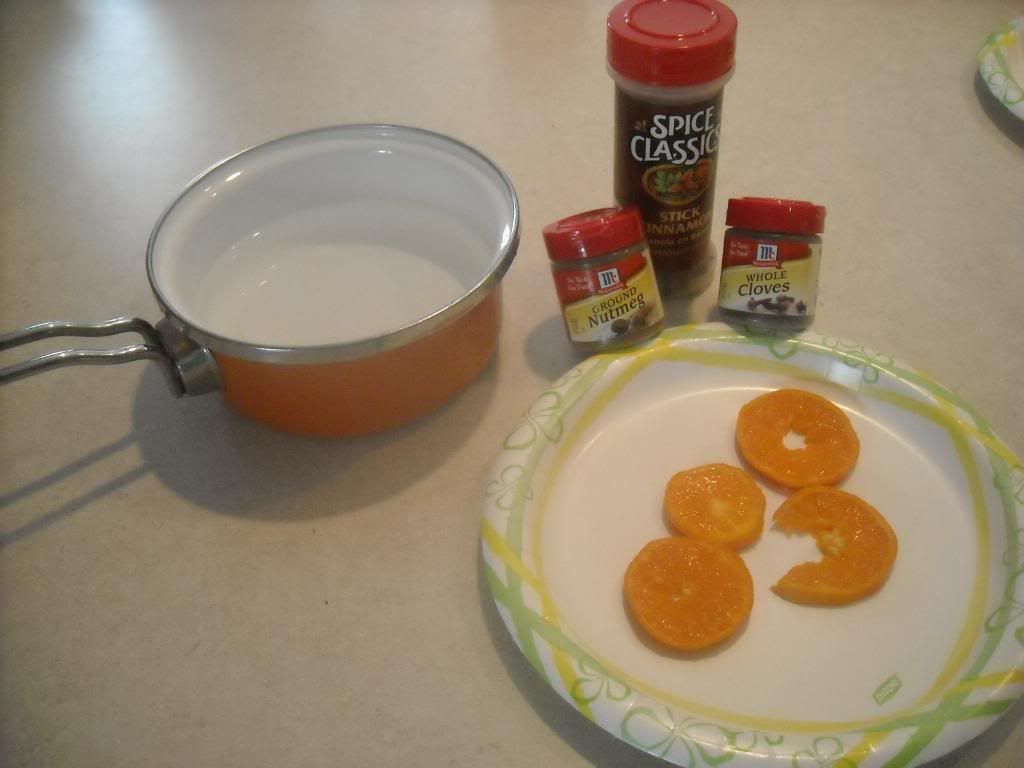
Oh I needed one of these today. I'm sure that there are a lot of moms and and other ladies who need a little TLC so I thought I would post a face steam that I started doing way back when I was in high school, and grew up watching my mom do long before then. All you need is a small pot, cinnamon sticks (ground cinnamon will work too), cloves, nutmeg, and orange slices.

Now fill your pot about halfway with water. Add in your orange slices, 1 stick of cinnamon, 3-4 cloves, and a few shakes of nutmeg.
Bring it to a boil and then take it off of the heat.
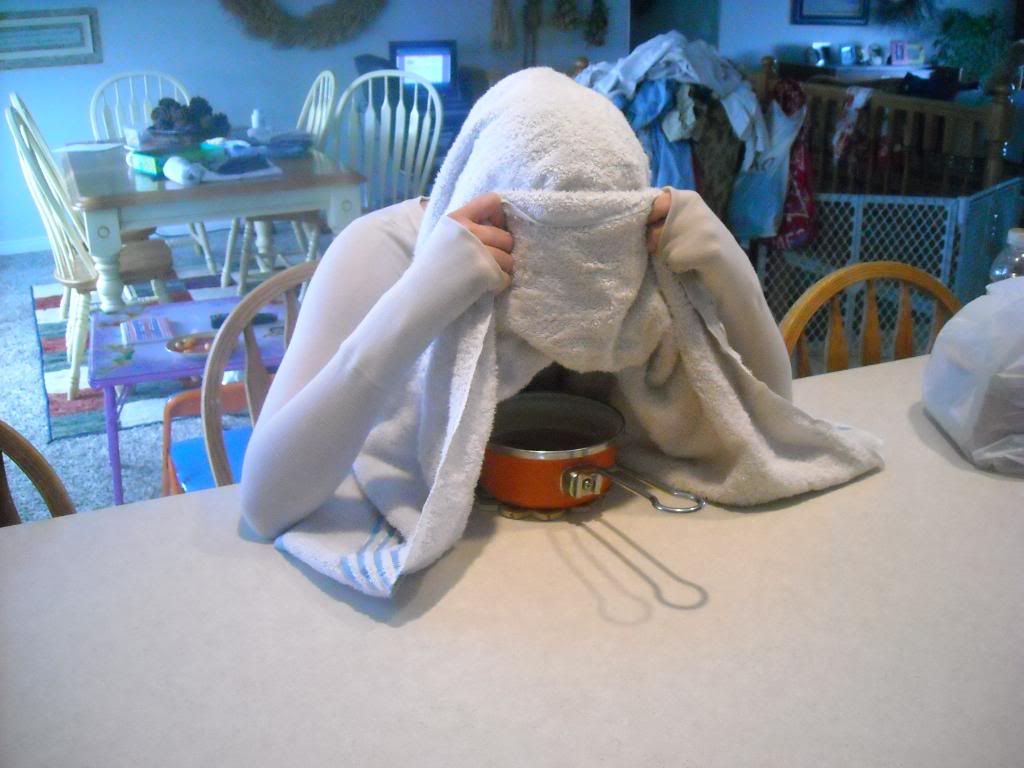
Now set it on a cupboard or table, and grab a towel. Pull your hair back and drape the towel over your head and the pot and take a deep breath and relax. Keep covered until it cools down enough that the steam stops. Your skin will look and feel so much better when you are done and you will feel so much more relaxed. Trust me, I just did it :D
Ooh, and when you are done, you can put it back on the burner on low and just let that aroma fill up your home. I love when my house smells like I could eat it. Mmmmmm. Just make sure that you watch the water level. We don't need any houses burning down!

Linking up to:


Friday, April 9, 2010

The Giveaway

Hello hello everyone! It looks like our giveaway is coming to a close! I can't believe how quickly our following went up. Hopefully everyone likes our blog as much as our Prizes!! We are now at 171 followers and I think we may be able to close it out by this weekend, so watch for us to post the winner of our FABULOUS FOLLOWER'S GIVEAWAY sometime at the beginning of next week. WOO-HOO!! If you missed out on being one of the top 200, that doesn't mean you can't follow us too though, I promise we will keep this interesting, and I can see another FFG in the future! Thanks again everyone for all of your support and comments. YOU ROCK! And I'll see you on the flipside. Yep, I totally just said that... Sorry about that :P

Wednesday, April 7, 2010

Fabulously Functional Towel Dress

 Don't forget to enter our Fabulous Follower's Giveaway for your chance to win a super cute Apron or Adorable Car Seat Tent!! Time is running out!!

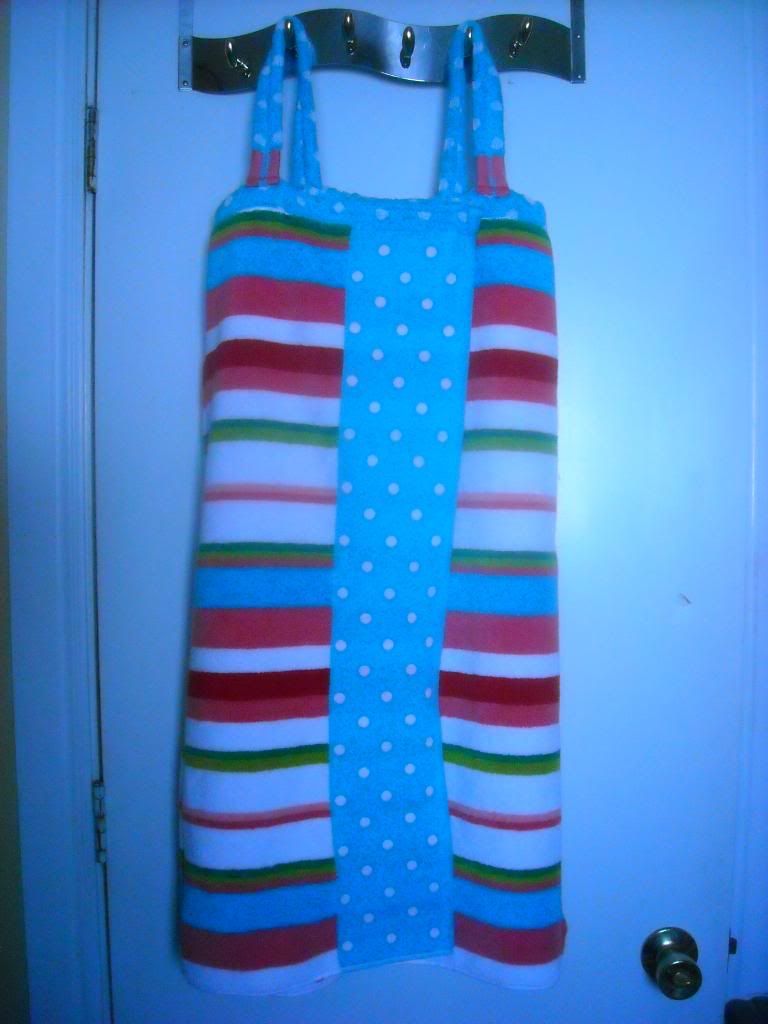
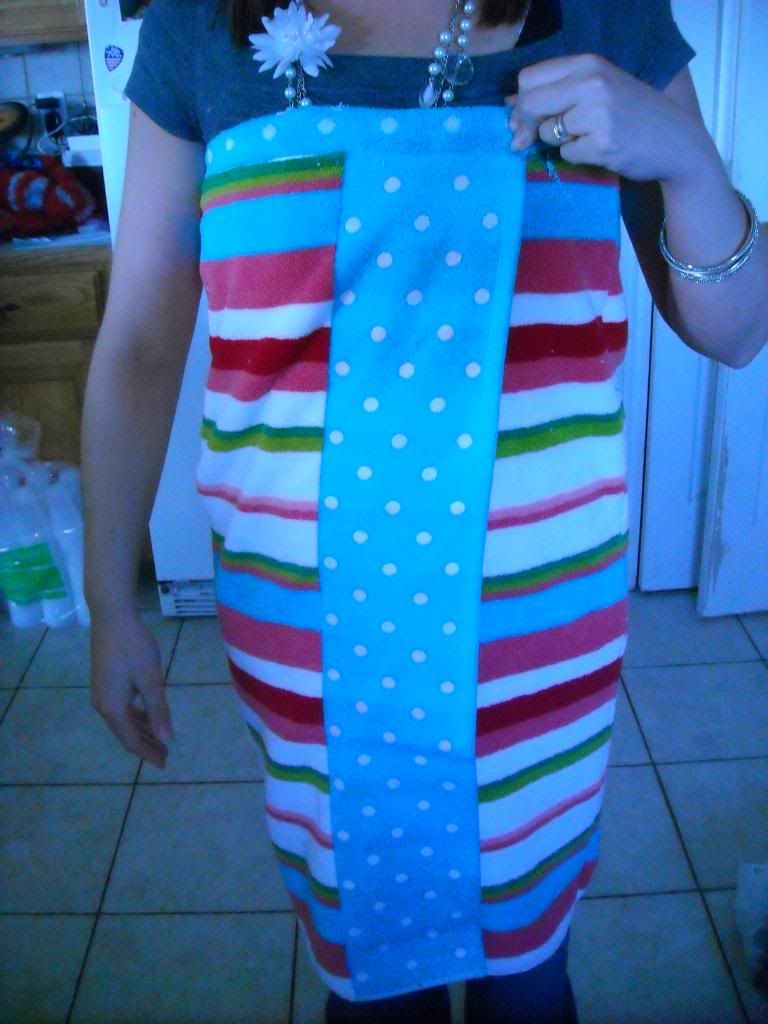
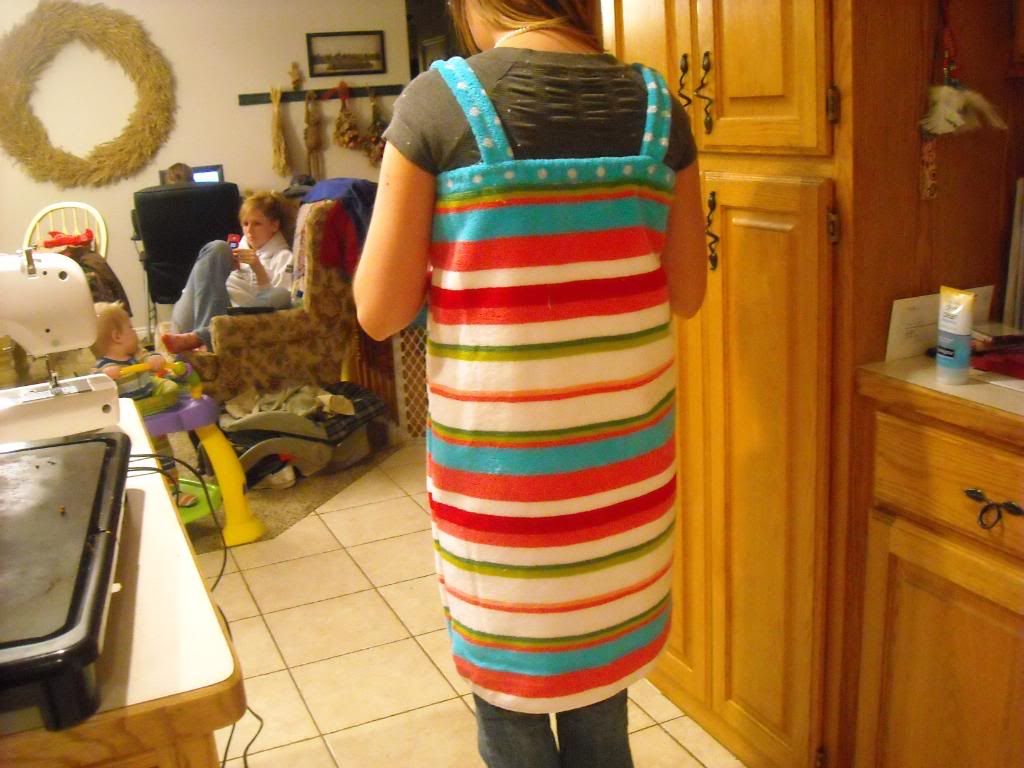
I love this project! This is my Fabulously Functional Towel Dress. Why? Well, I have 2 adorable little boys. Sometimes getting ready in the mornings can be hectic. I don't like to get dressed until I am completely ready so as to keep the hair, makeup, whatever else seems to be lying around off of my clothing. Problem is, it's tough to keep a wrapped towel on securely when you are chasing 2 busy little bodies around. So this is the solution. Super cute and easy!
All you need for this project is a towel (make sure it is large enough to wrap from one armpit all around to the next armpit), a coordinating hand towel, 1inch wide elastic, velcro, and a sewing machine.
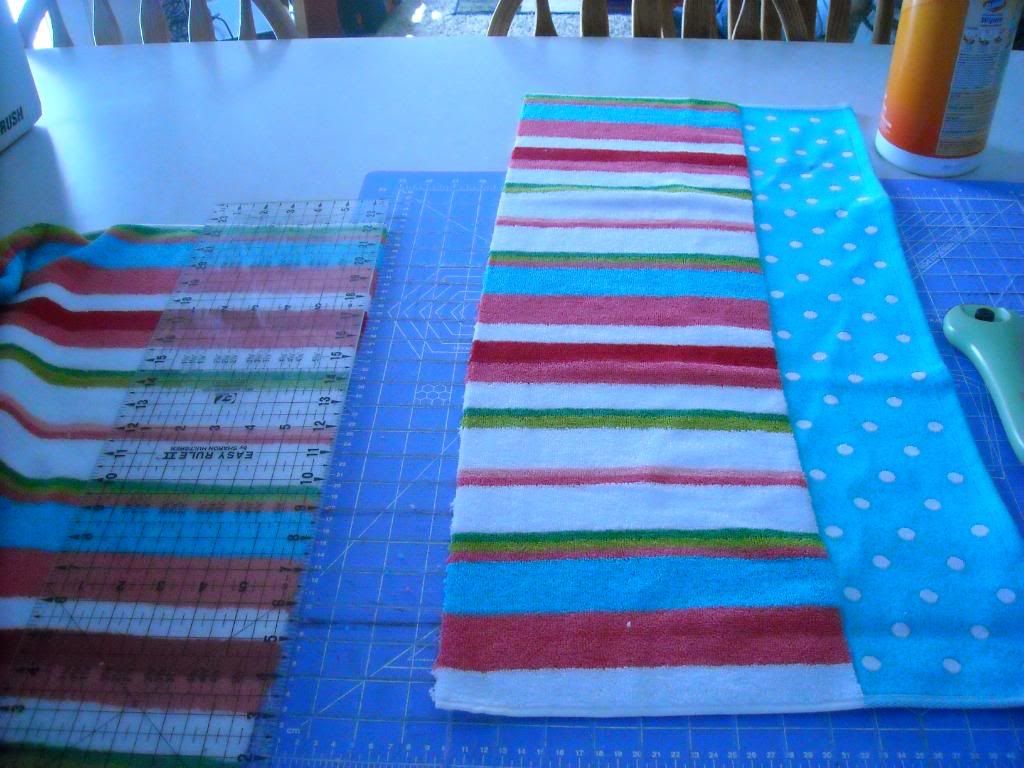
First step is to take the towel and measure from one side of your chest to your opposite armpit. Mine came out to about 13 inches. Now you take your towel and cut 13(or how ever many you measured) inches from each end, leaving the middle of the towel alone for now. This way you don't have to finish any edges.
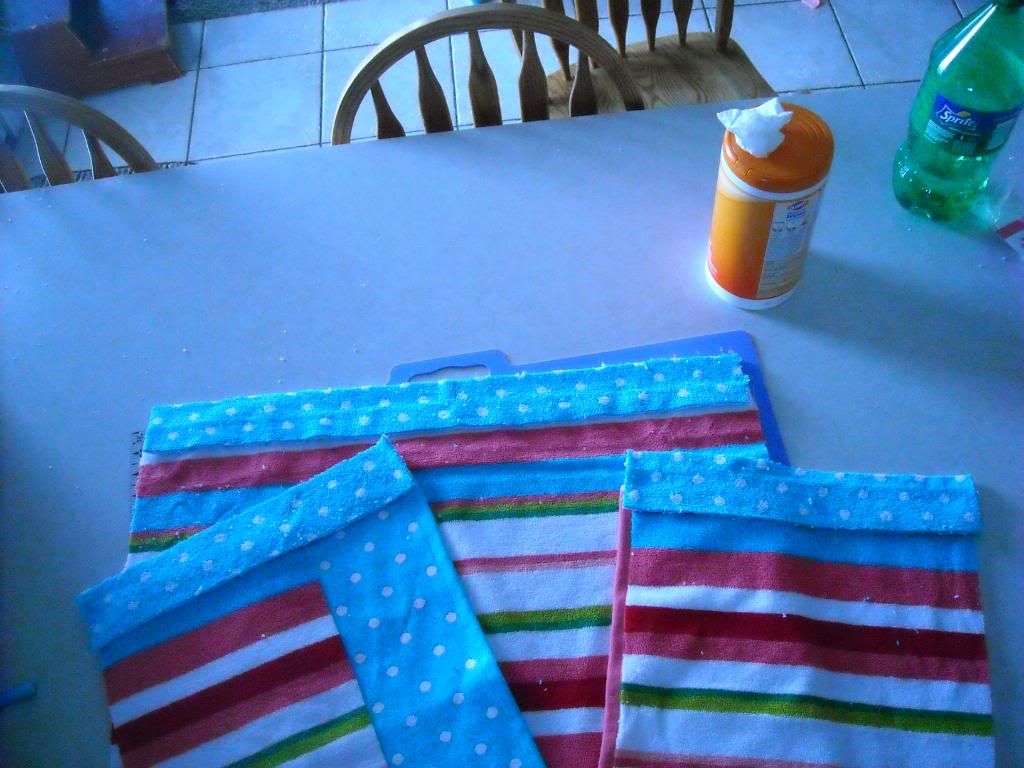
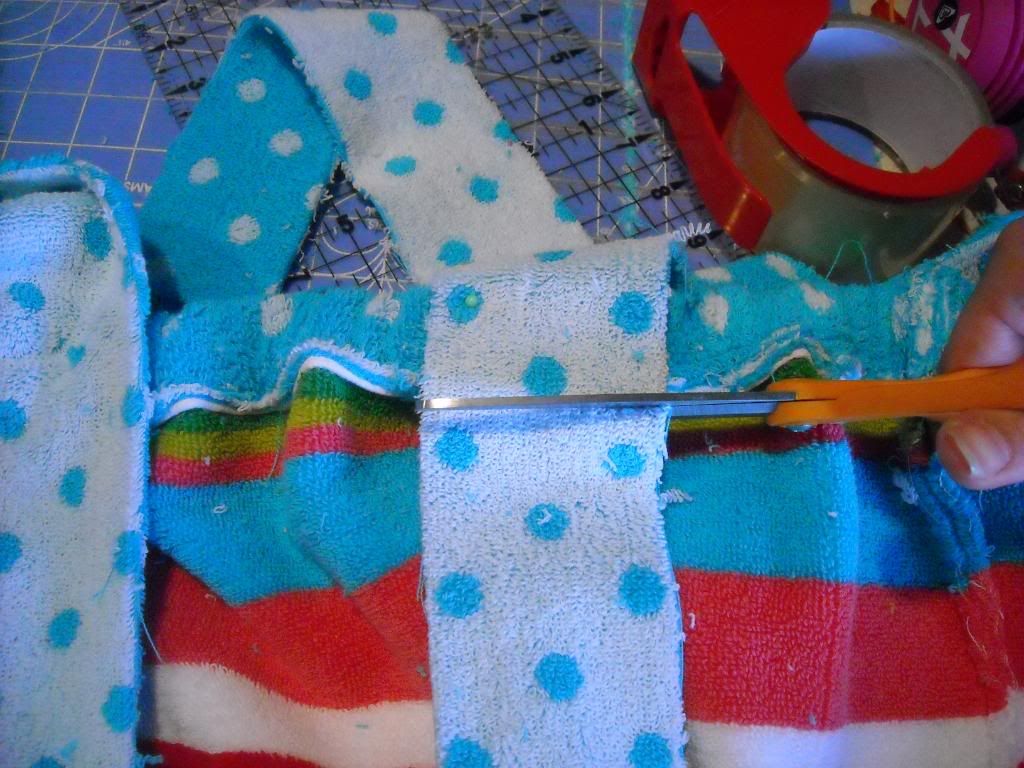
Next step is to measure from the front of one armpit, around your back, to the front of your other armpit. Now cut the middle piece of towel to this measurement. The next thing to do is to take the hand towel and cut it lengthwise into five 2 1/2 inch strips and then take three of the strips and cut them to the same length as each of your towel pieces as shown in the picture below.
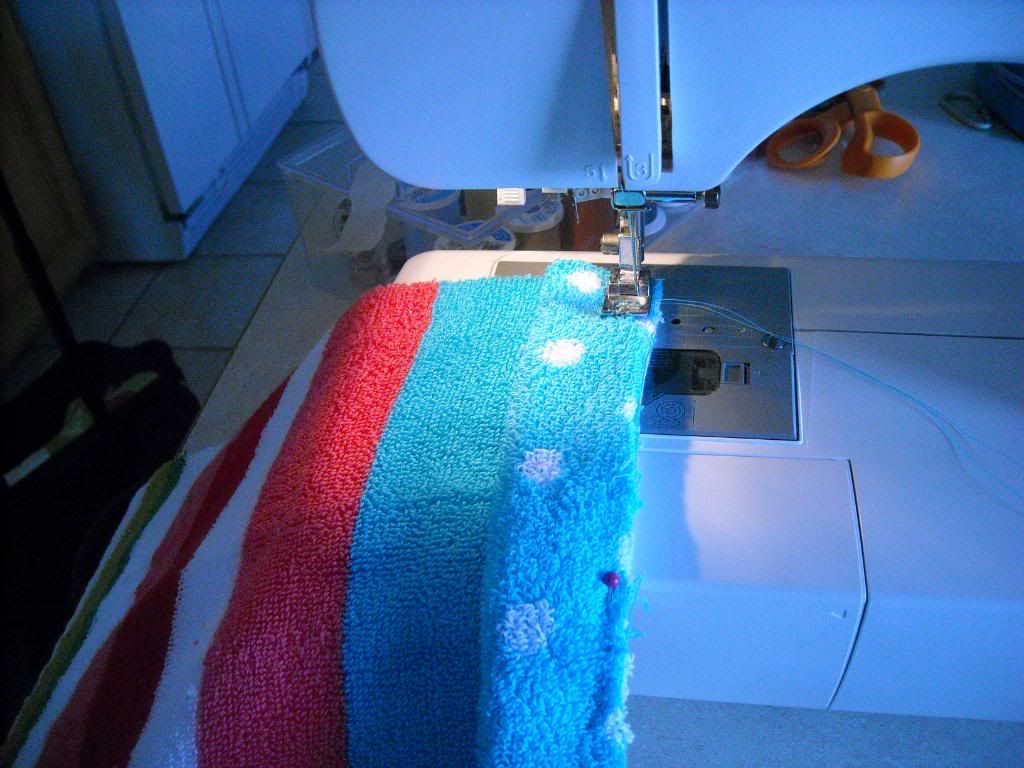
Now fold each of the hand towel strips in half lengthwise and pin to the tops of their coordinating towel pieces and sew across. Do this to all three towel pieces.
Next, take the middle towel piece and lay it out flat. Take your elastic and stretch it from one side of the sewn on hand towel piece to the other. Once the elastic is cut, you want to thread it through the handtowel on top and then sew each end of the towel to secure the elastic into place.
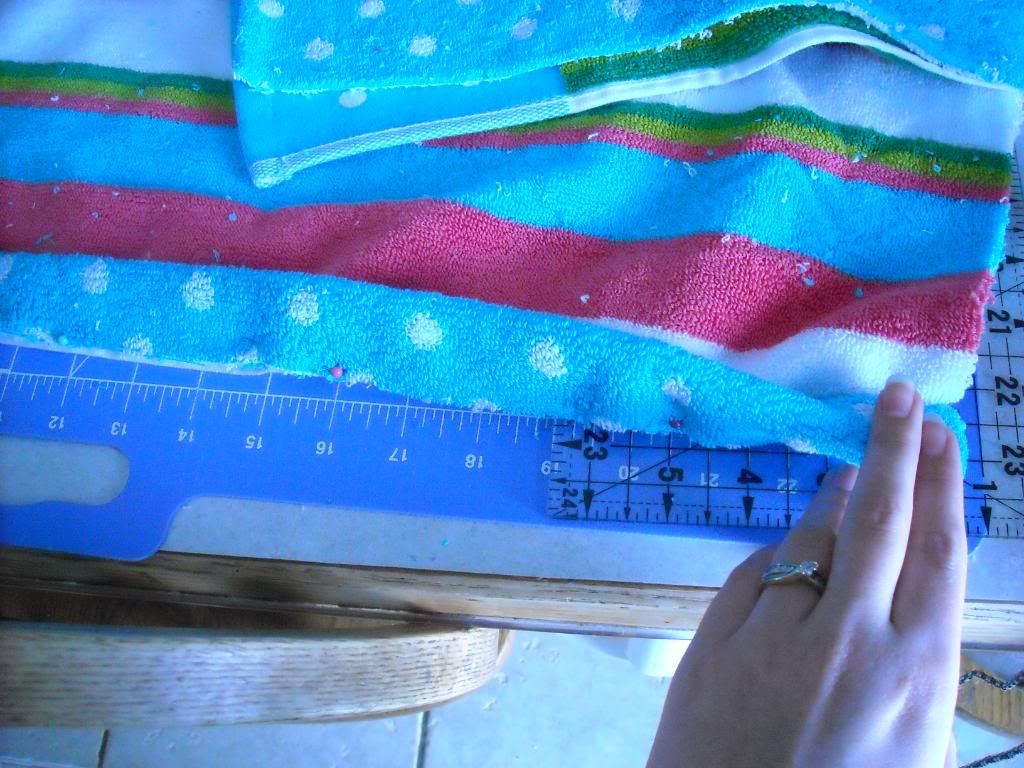
Now take all three pieces and sew them back together. If your towel has a pattern, make sure that it lines up so that it looks real nice and pretty-like :D. Once it is all sewn back together, wrap it around yourself and pin where the crosses over.
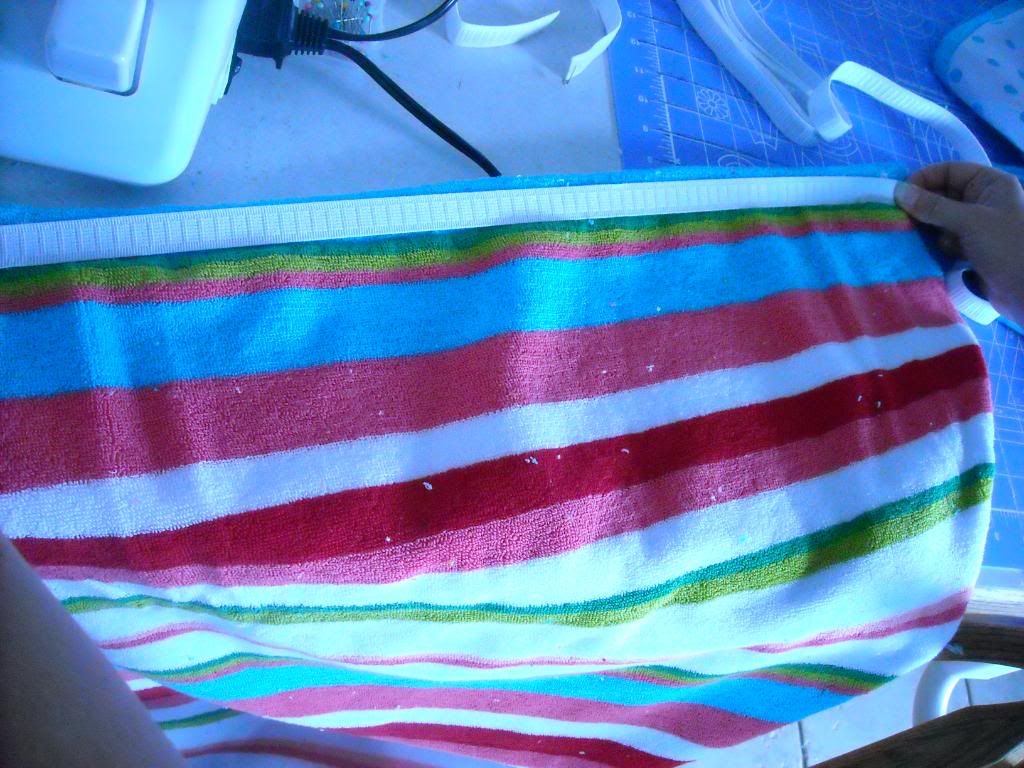
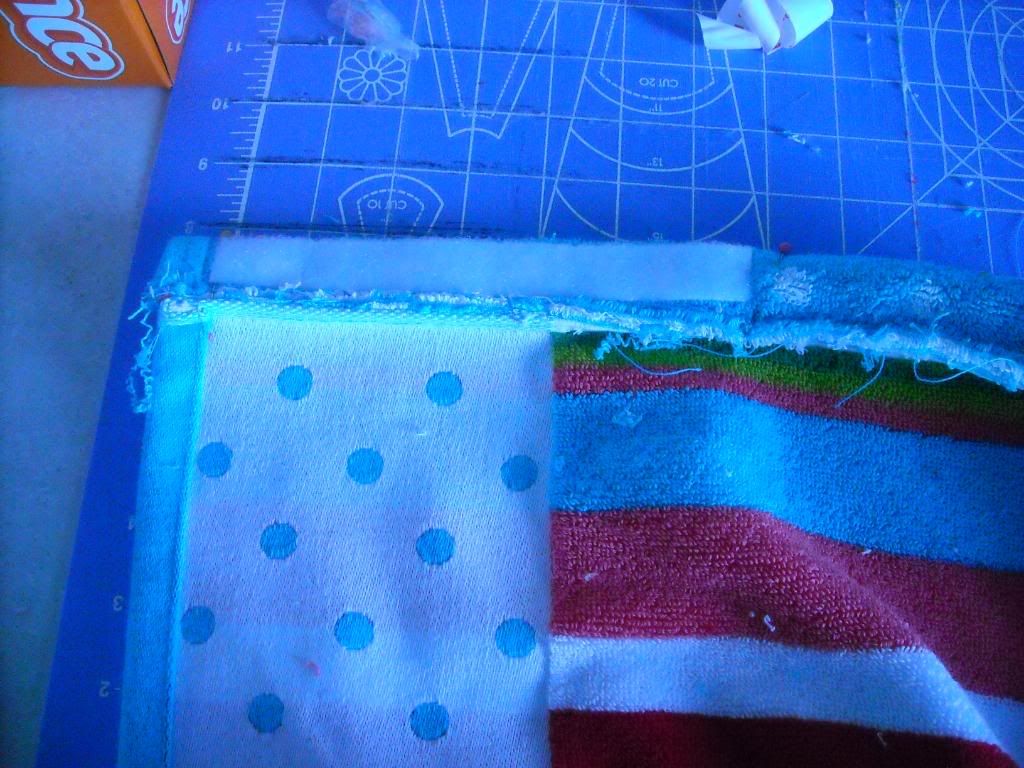
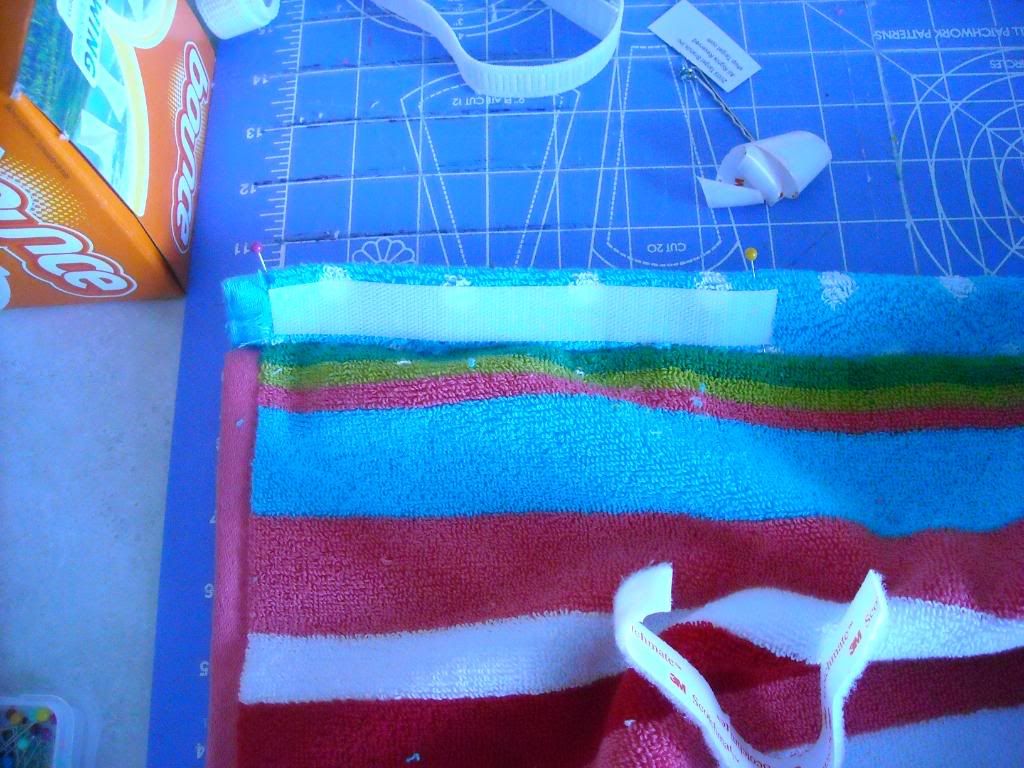
This is where you will put your velcro. I recommend getting the adhesive kind so that you can stick it where you want and sew it without having to worry about pins. Make sure that you place the velcros on opposite sides of the towel so that when the towel wraps around you the velcro meets together. I also recommend making sure the rough side of the velcor is facing the outside of the towel so that it doesn't rub on you and irritate your skin. Once stuck on, just sew around the edges to secure in place
Now wrap your towel back on and take your last two handtowel strips and drape them over your shoulder to use as straps and pin them to find the length you need and cut to that desired length.
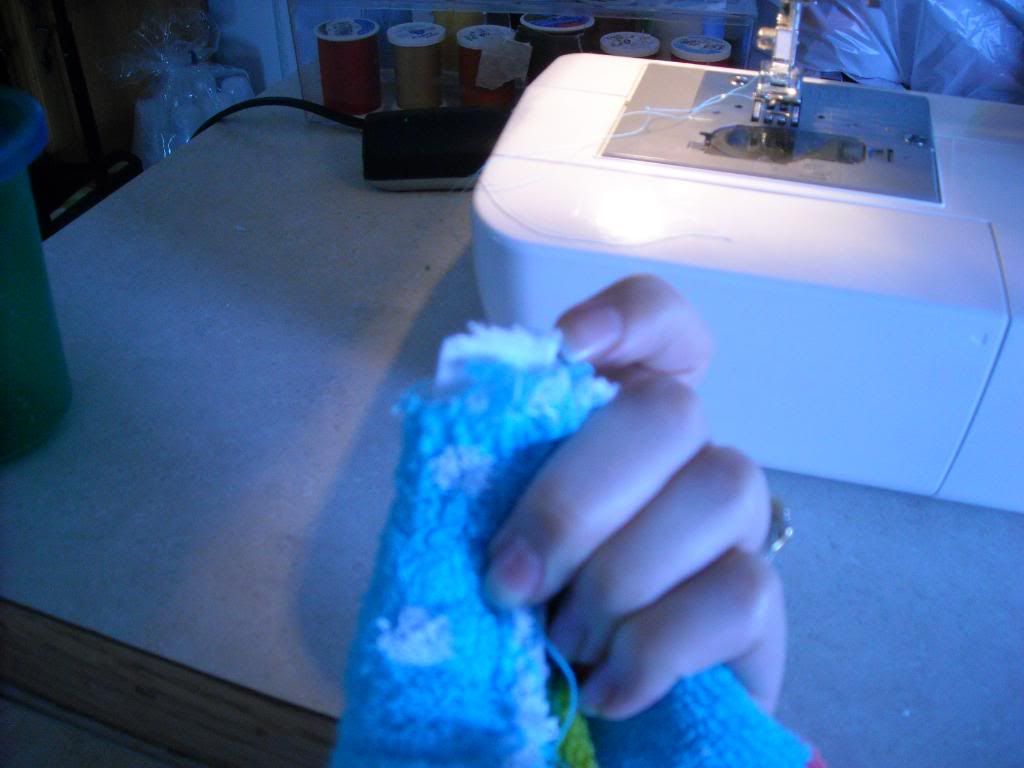
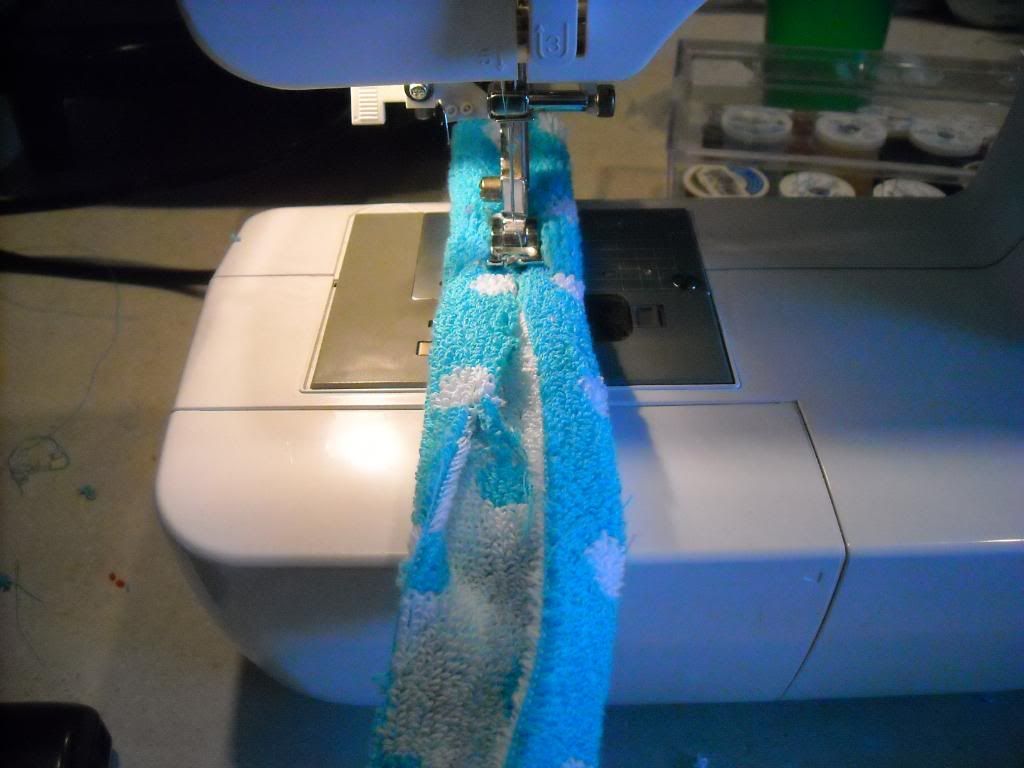
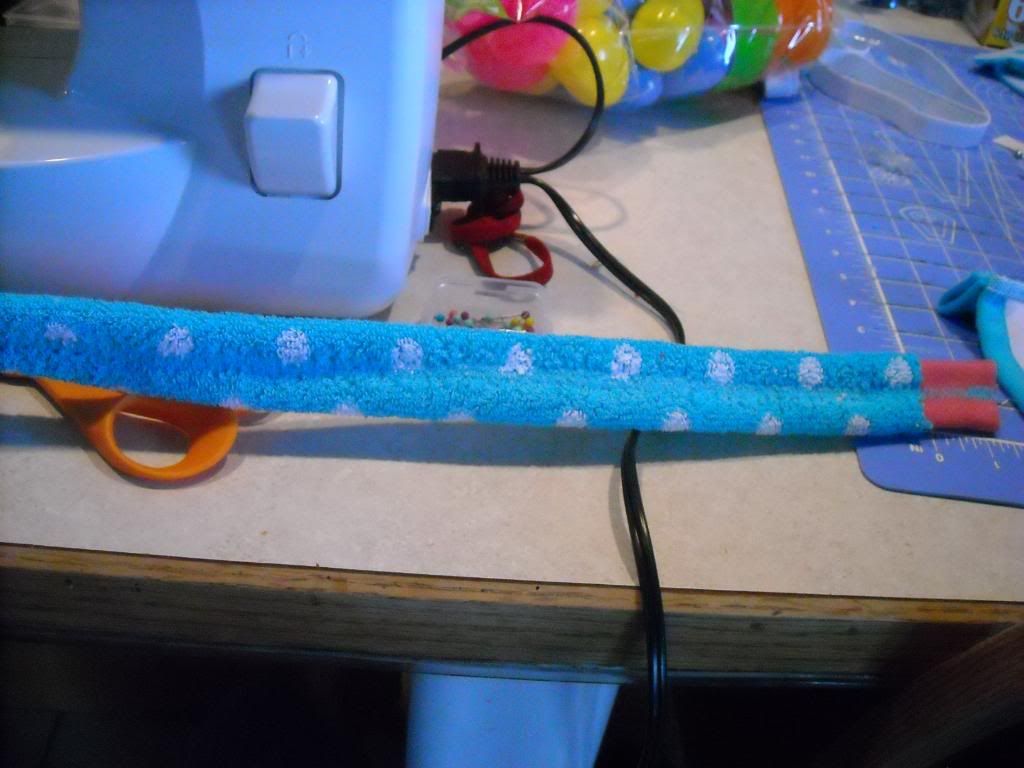
Now unpin the straps. To sew them, lay them flat and fold lengthwise from each side into the center. Now you take your sewing machine and do a zig-zag stitch down the middle of the strap to close it up. Do this about 7 times to ensure that the strap is closed and also it makes the strap really cute because it flattens down the middle and fluffs up the edges.
Pin the straps back on to your towel and then sew into place, and wha-la! You are done! And don't you feel all secure and ready to conquer the world?
And no, my eggo is not prego in that picture. It's just a bad angle, I swear!

Linking up to: Somewhat Simple - Strut Your Stuff Thursday
The Shabby Chic Cottage - Transformation Thursday
Fireflies and Jellybeans - Show Off Your Stuff Party
Tales From Bloggeritaville - Thrifty Thursday
Life as Lori - Get Your Craft On Thursday
Beyond the Picket Fence - 100 Ideas Under $100


Creations by Kara


Friday, April 2, 2010

Easter Dress and Bow Tie Tutorial

If you haven't already, check out the Fabulous Followers Giveaway post below.

I'm having a hard time believing that Easter is in 2 days! Outside it is feeling a lot like Christmas...not Easter. This is what we woke up to this morning:

 I've been putting off making my daughter's Easter dress this year--mainly because I was having a hard time finding a pattern I liked.  That is until I found Christine's fun blog:


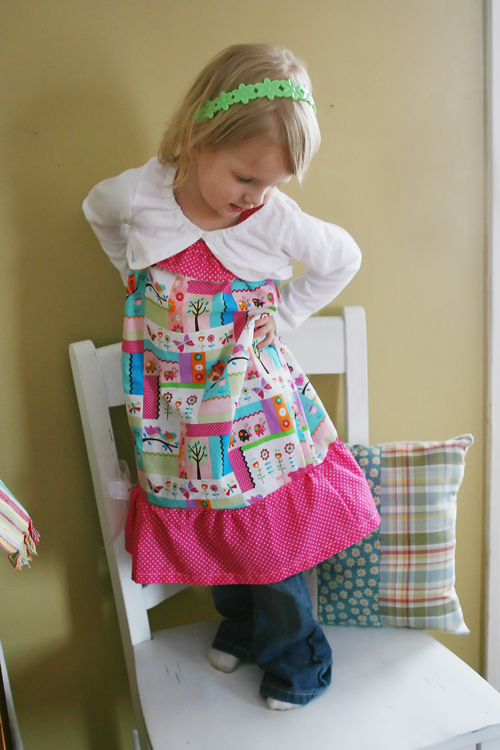
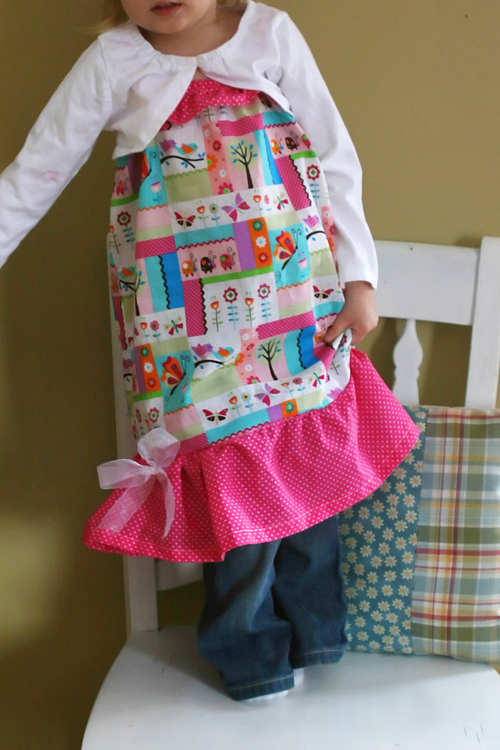
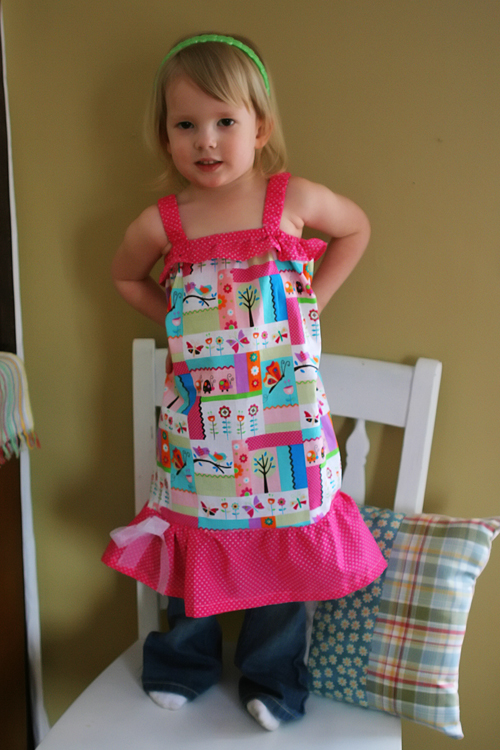
She has some really cute tutorials and I fell in love with her One Hour Sundress.  It took me the afternoon to make from start to finish, but next time I will be able to whip it up a lot faster.  Here is how ours turned out!


I also added a little bow onto the bottom ruffle.  Cute, right??? Tay loves this dress, I had a hard getting her to take it off!

I couldn't just make my daughter something for Easter and not my boy, so I searched the blogs and Google for a little boy's bow tie.  I found lots of good tutorials for bow ties made out of ribbon, but I wanted to use up some scrap fabric pieces.  Since I couldn't find a tutorial for those--they are probably out there, I just couldn't find one!--I decided to come up with something myself.


Here is what you need:

  • 10"x6" piece of scrap fabric
  • 3"x6" piece of scrap fabric
  • Some elastic--I used 1/2" thick 
  • Sewing machine, scissors, thread
  • Hot Glue
  • Iron

First take your 10"x6" fabric scrap and fold it in half so that the right side of the fabric is touching and sew down the side.  Do the same with your smaller fabric scrap.


Turn your pieces right-side out and press with the seams down the middle.
With your bigger piece, fold the ends over to meet in the middle and sew down.
Next take your elastic and measure it around your boys neck. It is easiest to measure when he is wearing the collared shirt he will wear with the bow tie.  Just make sure it isn't too tight or too loose.  Sew the ends of the elastic together and sew the elastic onto your large fabric piece.

After the elastic is sewn on, take the smaller fabric piece and wrap it around the larger piece.  You can hand sew this part if you want, but I strongly dislike hand sewing so I just added a few dabs of hot glue to secure it.  Fluff it up and play around with it a little to get the look you want and there you go!

A cute bow tie for your cute little gentleman! (Doesn't mine look thrilled?)

If you like what you see, click the Follow button up at the top right and leave us a comment! Thanks for stopping by. 

Creations by Kara


Thursday, April 1, 2010

Fabulous Followers Giveaway!!

 GIVEAWAY CLOSED!!

We are starting something new for April, and no, this is not an April Fool's joke. We have decided to do a Fabulous Follower's giveaway. Here's the deal. We are only at 63 followers right now, and though we love all 63 of our current followers, we would love love love to be able to increase our following and get our blog out to as many people as we can. So, the lucky number here is 200. As soon as we reach 200 followers we will be offering a fabulous prize. Ergo, the Fabulous Followers Giveaway. If you want to call it the FFG, go ahead, I won't judge. What is the Fabulous Prize, you ask? Well that's up to you. If you are randomly chosen, you get your choice between the Kelso apron and a car seat tent (boy or girl, whichever you need).

Now, what do you have to do exactly? Just click that little follow button in the left column there. Yep, it's that simple. What if you are already a follower? Then you, my friend, are already entered. Now, that can be it, just follow us and be done. Or... Do you want a little something more? Well here is the bonus. Let's say that you put a post on your blog telling about Scraps N' Strings, or the giveaway, or featured a craft from our blog. If you were to do that, and link it back to us, then once we reach 200 followers, if you are the random follower chosen, then you automatically get a bonus gift. Now the link needs to be there before you are chosen. No cheaters :D. If you choose the apron then we will throw in a coordinating oven mitt, and if you choose the car seat tent, we will throw in a teething cuddler. So don't be shy, we don't mind being followed around, go click that little button, if you're feeling extra bold go post about us on your blog, and let's get this contest closed as soon as we can. I mean come on, we have some stuff to give away!!


Simply Yours Designs: Cute Blog Designs