
If you missed part 1 you can scroll down below or click here
Alright, sorry this took so long to get up, I've had 2 sick boys at home, and did I mention that it SNOWED last night!!! BOO :(
Alright, sorry this took so long to get up, I've had 2 sick boys at home, and did I mention that it SNOWED last night!!! BOO :(
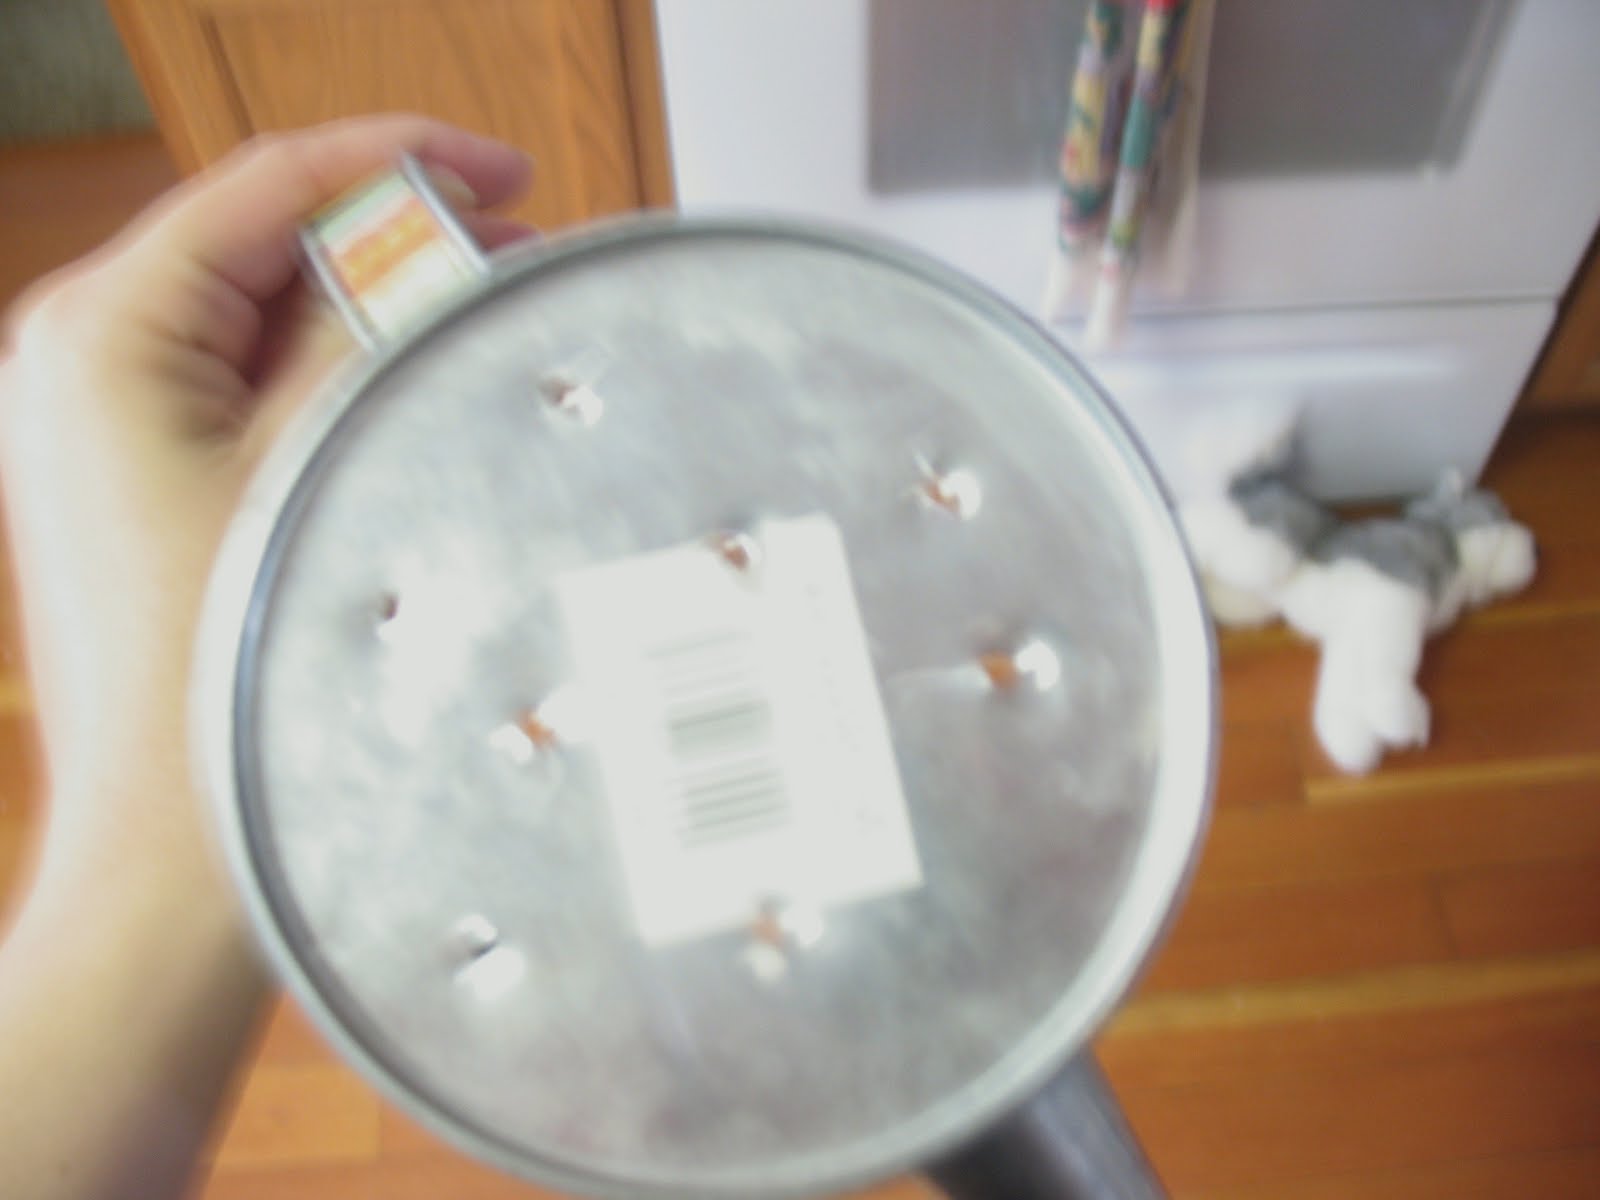
So anyway, the next step is to drill some holes into the bottom of your can for the excess water. If you don't have a drill and drill bit, you can use a hammer and nail and put the holes in that way.
Then I went and found a red flower pot base at my local Wally-mart and some really cute red gerbera daisies. 3 bucks. Can't beat it. (Well I couldn't.) I took the daisies out of their pot and replanted them in mine and then put the watering can on the plate.

Then I took some thin twine and wrapped it around the middle of the can a few times...

and tied a little bow right in front. Cause that's how I roll.

And this little lovely will be going to my mother-in-law in about 3 days because, well, she's awesome and I thought that this would be a little funner than your routine bouquet of flowers. PLUS she's really good at keeping plants alive, and I'm really good at killing them :D


21 comments:
So cute! I bet your MIL will love it!
I like it! But I could help you kill the plant... I, too, have a black thumb.
This is so cute.
Now that is adorable! I would love to have one of those...I'll be on the lookout for a watering can that isn't plastic. :)
So cute!
So sweet! Thanks so much for planting your creative seeds at Plant a Punkin Seed Party!
Hope to see you again next Friday!
Kristi
Punkin Seed Productions
absolutely delightful! full of charm! Please accept my invitation to drop in at my place when you get a moment. I have become a follower and would be honored if you choose to do the same! until later...
The watering can alone was cute enough, but what a great idea to put flowers in it! It's even cuter now! I love this idea! Thanks so much for sharing it with us!
So that's what part 2 was! Very cute and creative!
That has to be the cutest gift ever. I wish I had time to copy this idea for my own mother in law. Maybe next year. Thank you so much for sharing this idea.
That is so adorable. I love it.
I did not see any of the required products for the DIY Club event. Is Google hiding the picture or did you miss that part of the info. We are giving people till tomorrow to fix a post if it needs changed and if you did not use one of the products you can always add another post to the event --just read through the required guidelines and FAQ's so you know what to do if you are reposting something.
Cheri for the FIY Club inc
THis is just too cute for words! : )
This is such a cute idea! Thanks for linking up to Saturday is Crafty Day!
This is so cute!!! :-)
So cute!!
What a lucky mother-in-law! That is just too darn cute!
That is so adorable! Great idea!
It turned out fantastic! Great job! Thanks for sharing @ Anything Related!
Ridiculously charming! I am featuring this at somedaycrafts.blogspot.com tomorrow. Grab my "featured" button.
I love this! Your blog is darling.
Your project has been featured at Veronica’s Korner. Please come by and pick up your Featured Button.
http://veronicas-korner.blogspot.com/2010/05/my-top-picks-517.html
Post a Comment