Friday, February 26, 2010

GIVEAWAY!!!


Do you want this apron? 
In honor of the grand opening of our new shoppe at http://www.scrapsnstrings.etsy.com, we are doing a giveaway over at Seven Thirty Three! I know, I know, just ignore the geek that is wearing it, I promise it is super cute. Head over and see all the ways to enter and a winner will be picked at random Sunday at midnight. Just a note, we would love for you to become followers to our site!! There is not much up on the shop yet, it has been a holy hectic couple of weeks around here, but we will be posting more items as the week progresses so go check it out and make sure you enter to win! I promise you won't be disappointed!!
 
 
Love to all <3

Tuesday, February 23, 2010

Sorry for the wait!

Hey everyone I just wanted to apologize for the lack of craftiness that we have had on our blog the last couple of days.  We are working on getting some really exciting stuff set up by Friday so if you can hold out until then, I promise we will be back to our craftin' ways as soon as we're done!! Don't forget to check back on Friday for a sweet surprise!! Thanks everyone!!

Thursday, February 18, 2010

Cross Quilt Ties

I want to share a fun trick I learned this week--the tassel-less quilt tie! I used this tutorial from the Apron Girls blog. The little x's were perfect for my table runner project!


Monday, February 15, 2010

Toddler/Infant Tie

This week I decided to refashion one of my hubby's old ties that he doesn't wear anymore into a super cute tie for my little man.  It doesn't take long and is pretty easy.  If you can't get permission to cut up one of your husbands old ties, they usually sell them for like a buck at your local D.I. or thrift store.

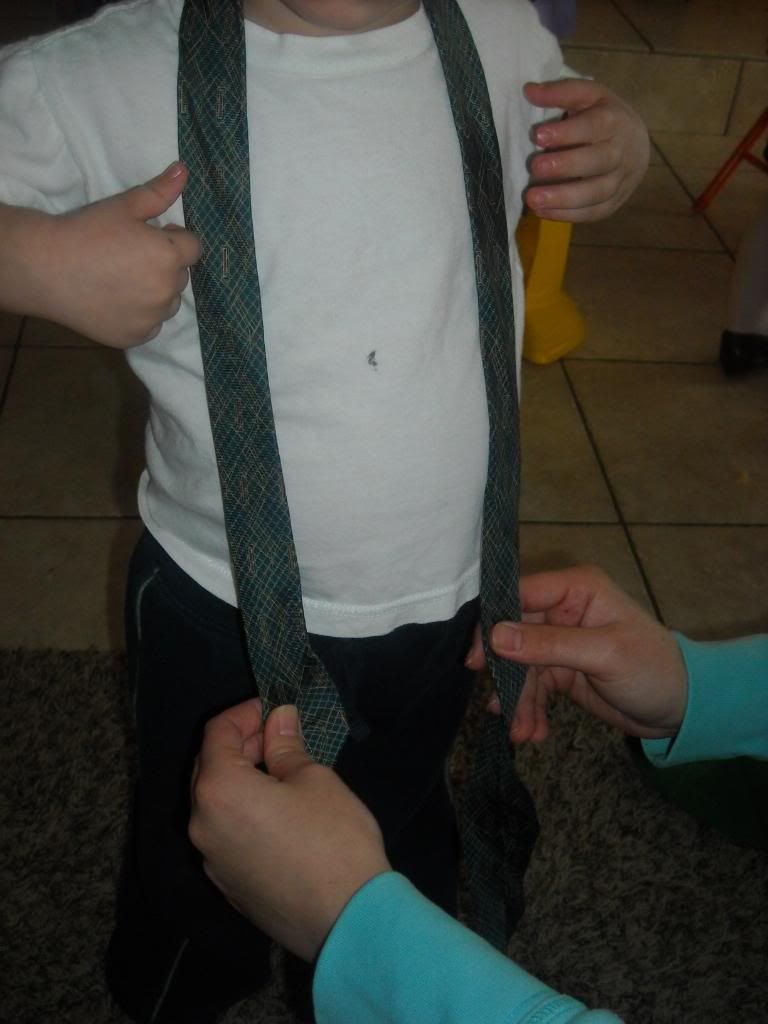
First thing you want to do is measure the tie to your lamb. Put it around his neck and mark where it hits his hips.  Make sure you mark the big end as the one to cut off.

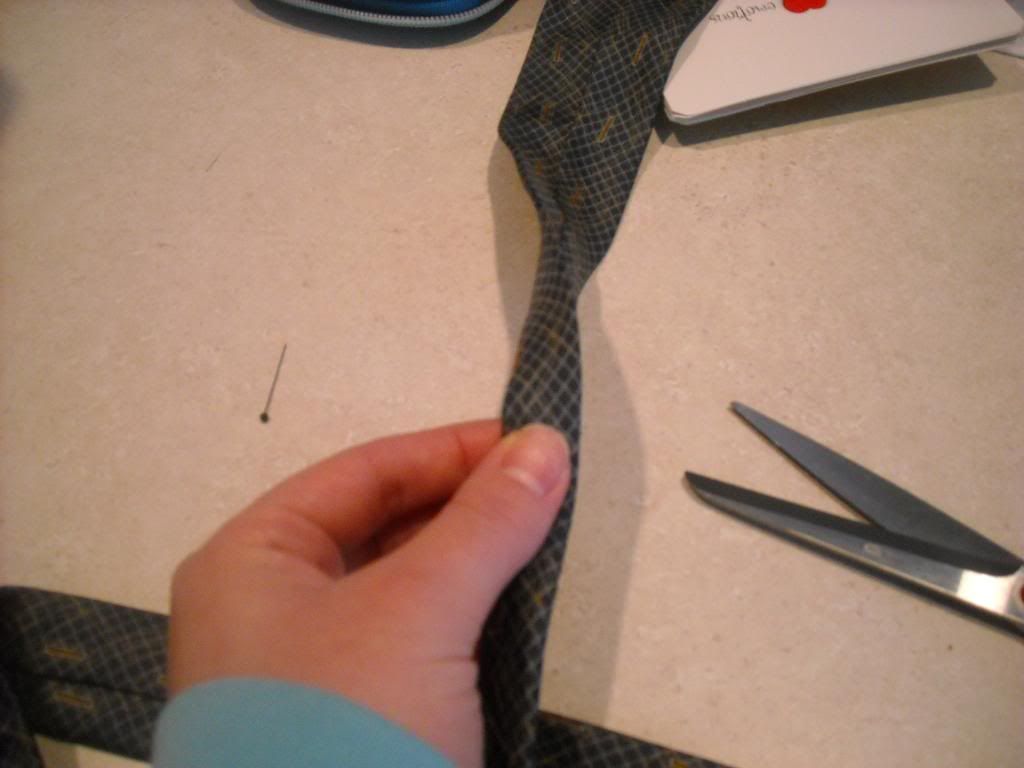
Now you'll fold the tie in half lengthwise and cut diagonally to make a V.
 
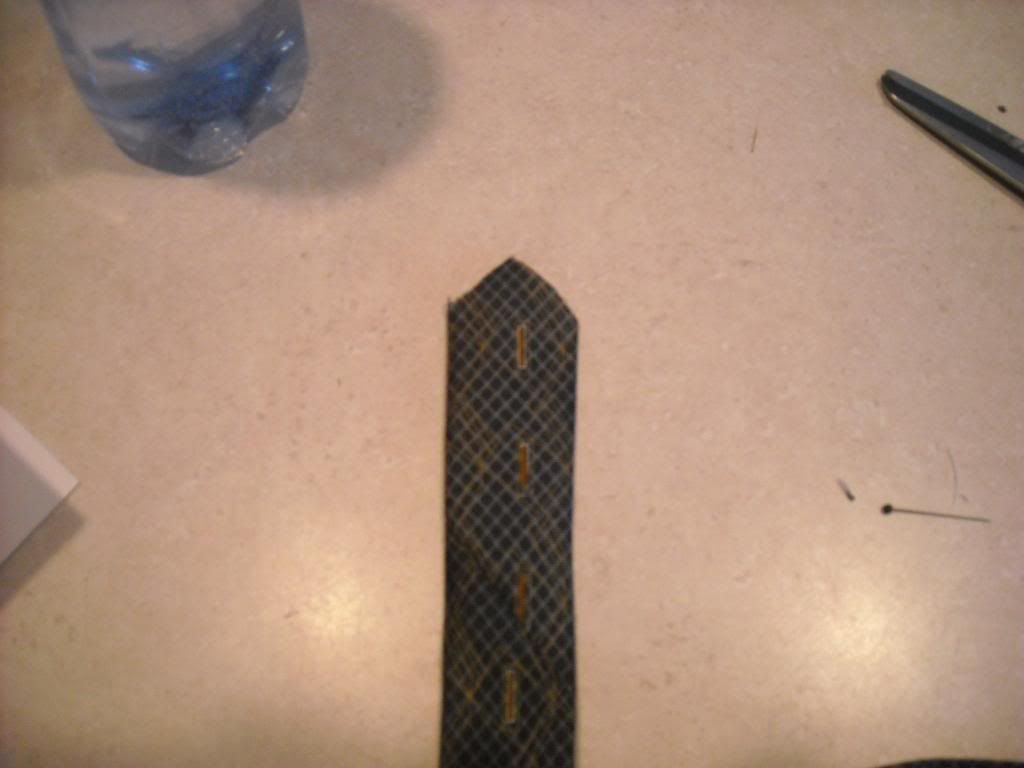
Next fold the tie in half hamburger way (haha remember that? :D) and mark the center of the tie with a pin.
 
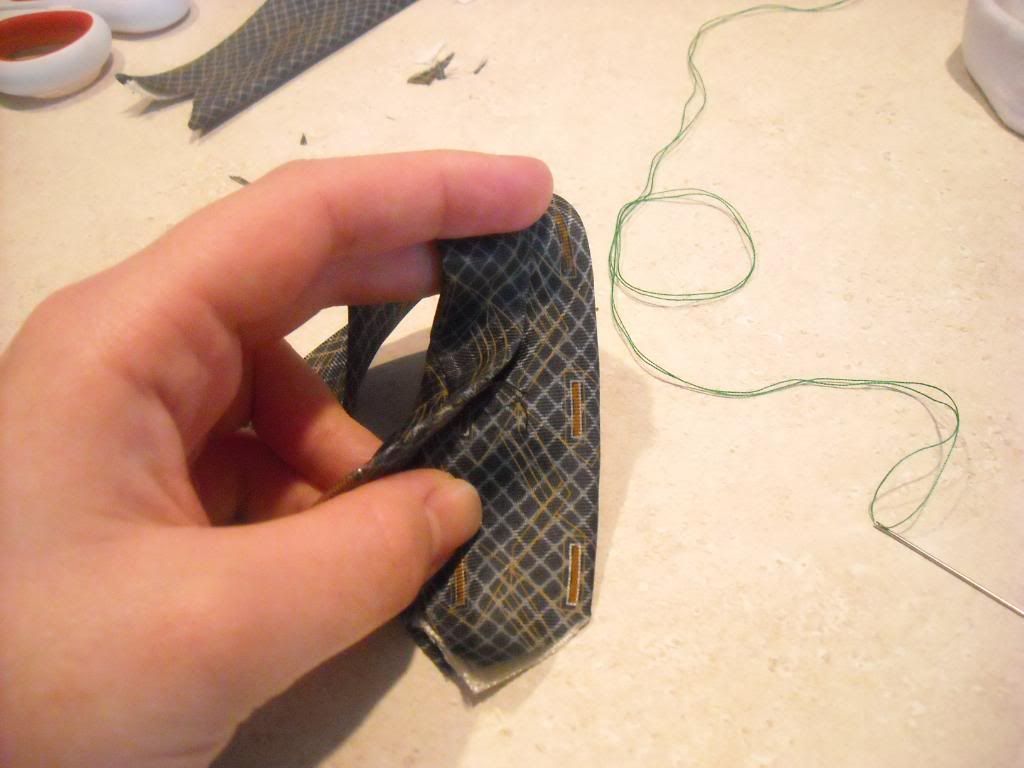
Now you will want to take out the stitches from the cut end to the pin

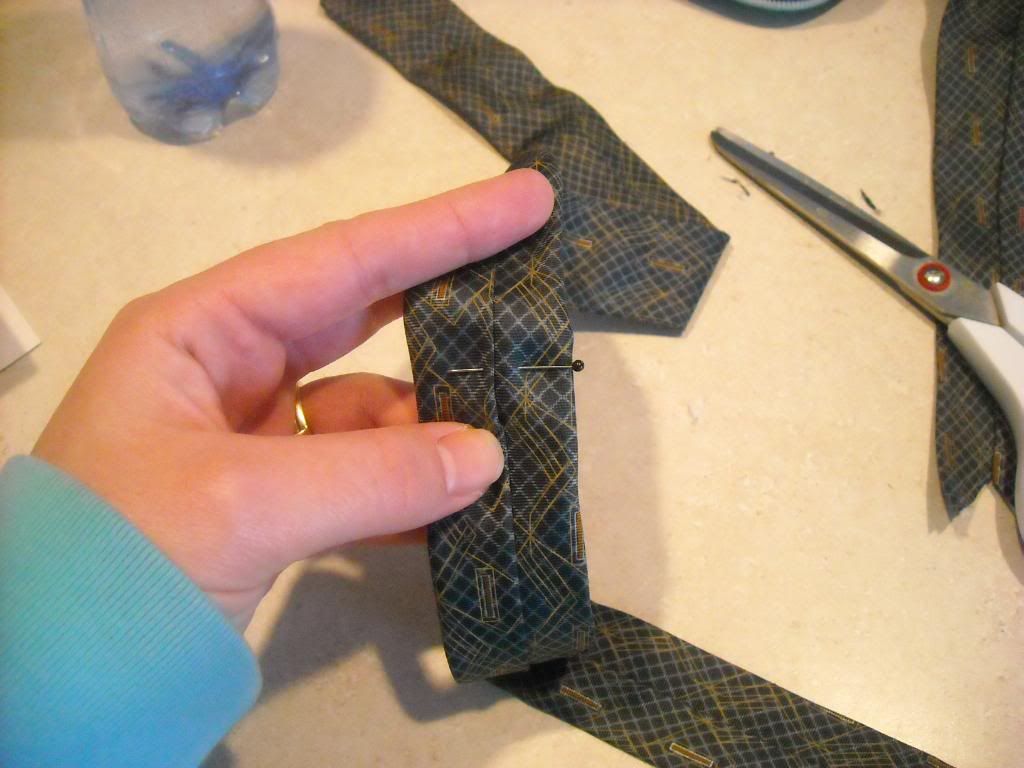
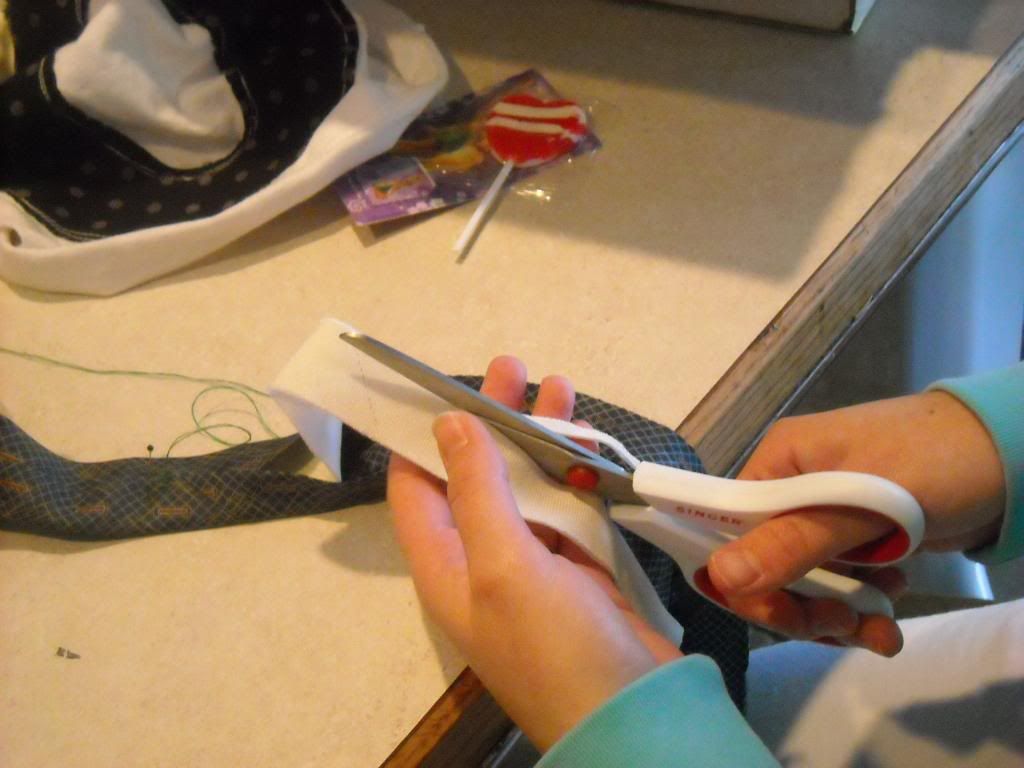
Now there is usually a piece of fabric inside the tie that they use to give it shape. You'll want to pull it out (again to the pin) and shave of the sides to make this end of the tie skinnier than the uncut end.
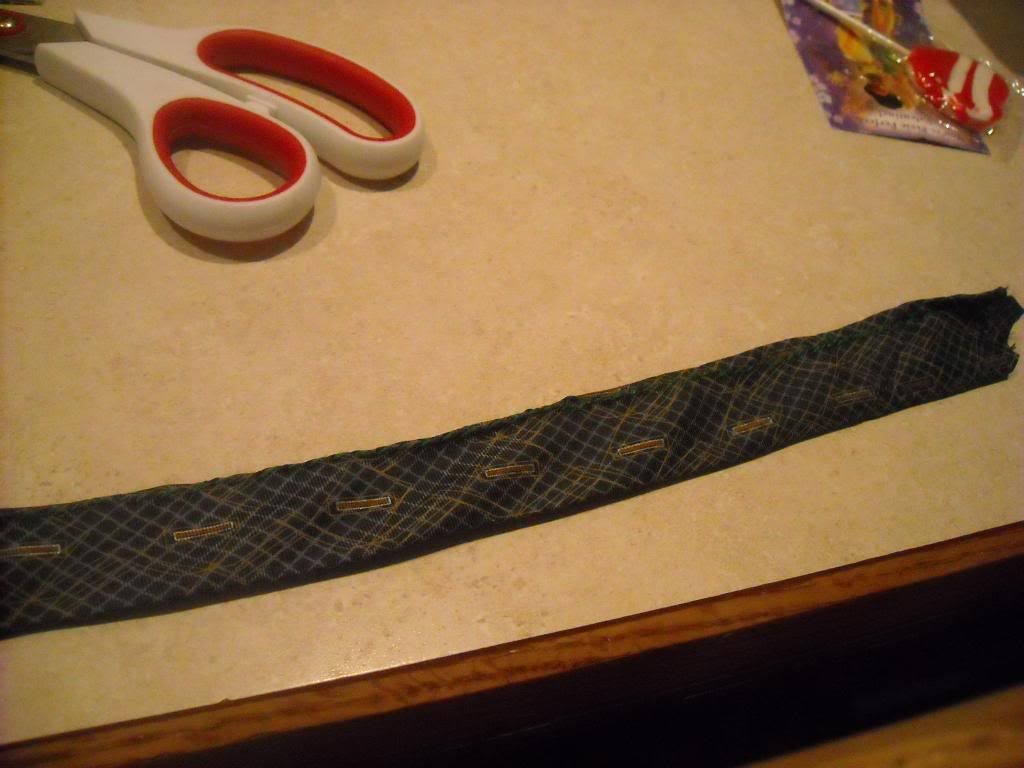
Now you just want to sew the tie shut again, forming it to the fabric that you just cut. Ironing the tie first helps out a ton. Don't worry if your sewing job does not look fabulous. Mine didn't either, but no one will know because it will be hidden, and I'm not telling anyone ;).
 
Lastly you'll want to sew the end shut. You can do this by hand or on the sewing machine. I forgot to take a pic of myself doing that, but don't worry, that part is also hidden.
Then just tie it onto your little man, or have your hubs do it, or your dad, or you can google how to tie a tie, cuz hey, why would you need to know how to tie a tie, am I right? And last a pic of the unwilling model, still super cute in his brand new refashioned little man tie!!


Wednesday, February 10, 2010

6-in-1 Heart Puzzles

I made these heart block puzzles for my daughter and my niece for Valentine's Day.  These are fun because there are 6 puzzles in 1 set of blocks. The supplies used here were Modge Podge, scrapbook paper, a paper cutter and some unfinished blocks. Here are all of the puzzles I got from this one set:


It's a little bit of a challenge for my 3 year old to put together herself, but she loves doing it with me and think she will get a lot of use out of it!

On another note we're working on getting out shoppe website up, I'm just testing out some different things and hopefully will have it set up soon.


 Linking this post up to:

Tuesday, February 9, 2010

XO Valentine's Day Shirts


Today I was working on a project when I realized there is less than a week left until Valentine's Day! I dropped what I was doing and headed to the store to buy supplies for these t-shirts. I think they are fun for siblings, but would be cute for little friends and cousins, too!

If you have never appliqued a shirt before, all you need is a t-shirt (I found some at Wal-Mart for $3.50 each), some coordinating fabric (I bought 2 fat quarters and have a lot left over), some Heat-n-Bond Iron On Adhesive, an iron, some scissors and a sewing machine.  I printed off an X and an O in a font that I liked and cut them out with a craft knife (scissors would work, too). I followed the directions on the Heat-n-Bond by ironing the adhesive on to the fabric and cutting out the letters using the print outs as a template.


Once I ironed the letters onto my t-shirt, I went around the edges with a long stitch just to make sure they won't come off.

I didn't embellish them, but it would be cute to add buttons or hearts. I also found this tutorial from Joy's Hope (fabulous blog, btw) on how to add a tutu to a t-shirt--this would be adorable for a little girl!

And here is the finished product: 

Enjoy!

Oh, and if you are looking for more Valentine's Day ideas, check out the Show a Little Love party at A Little Tipsy!


Saturday, February 6, 2010

Fabric Hair Flower

So I was looking for a fun project to do today and thought that I would make a flower for my hair.  I have never made one before so I was just winging it but it turned out pretty cute so here it is!

 First step is to cut out 5 petals of roughly this shape. They don't need to be exact and you can make them whatever size you want. Mine were about 2X1"
Now you want to stiffen the fabric. There are a couple of ways you can do this. There is a fabric stiffener in a bottle that you can buy, but if you're like me and you haven't gotten your taxes back yet, you can use elmer's glue (mix equal parts glue and water). I went for elmer's. Now put it in a bowl and dip the petals in one at a time.

You want to make sure that you wring out all of the excess liquid from the fabric

and lay them flat to dry. Feel free to use a blow dryer to speed things up.

Now take a needle and thread and sew back and forth along the bottom of the petal and pull tightly together.


String all petals together and then sew back into the first petal to make the flower. Use needle and thread to sew in any pieces that need tucked in.

You can add on more petals if you want another flower from behind.
Now attach to a bobby pin or clip or ponytail or whatever else you like to put in your hair.
Use any pattern of fabric you want to make them the style you want. I painted mine with watered down paint.

Pretty pretty :D

Wednesday, February 3, 2010

Teething Cuddler

Don't you just love those little tag Cuddlers?  Me too, but they are so expensive! So I decided to make my own but to put my own spin on them and add some teething toys on! These are super easy and take less than an hour.

Materials needed:
2 14X14 squares in 2 different textured fabrics. (I used a furry fleece and a long john material)
16 peices of  5 inch ribbon
3 teethers
thread
sewing machine

First you want to just cut all of your ribbon and your fabric to size.
 
Next take one fabric square and pin the ribbons around the outside, toward the middle, 4 on each side. Make sure to attach the teethers onto the ribbons now. Also make sure that you sew them to the front of the fabric, not the back.

Now take your zig-zag stitch and go all around the outside. We will go over the ribbons multiple times to ensure that they don't come off in your little one's mouth!
 
  
Now take your other square and pin it on top of the ribbon square, wrong sides together.  Make sure all ribbons and toys are tucked inside.
Now use a straight stitch and sew around the outside edges.  Make sure to leave a hole big enough to fit the toys through!!
Flip the toy right side out.
And once again sew around the edges of the entire toy to close hole and to get one more stitch through the ribbons.
And now give it to your little lamb so he can slobber all over and LOVE it!!

 
Simply Yours Designs: Cute Blog Designs