
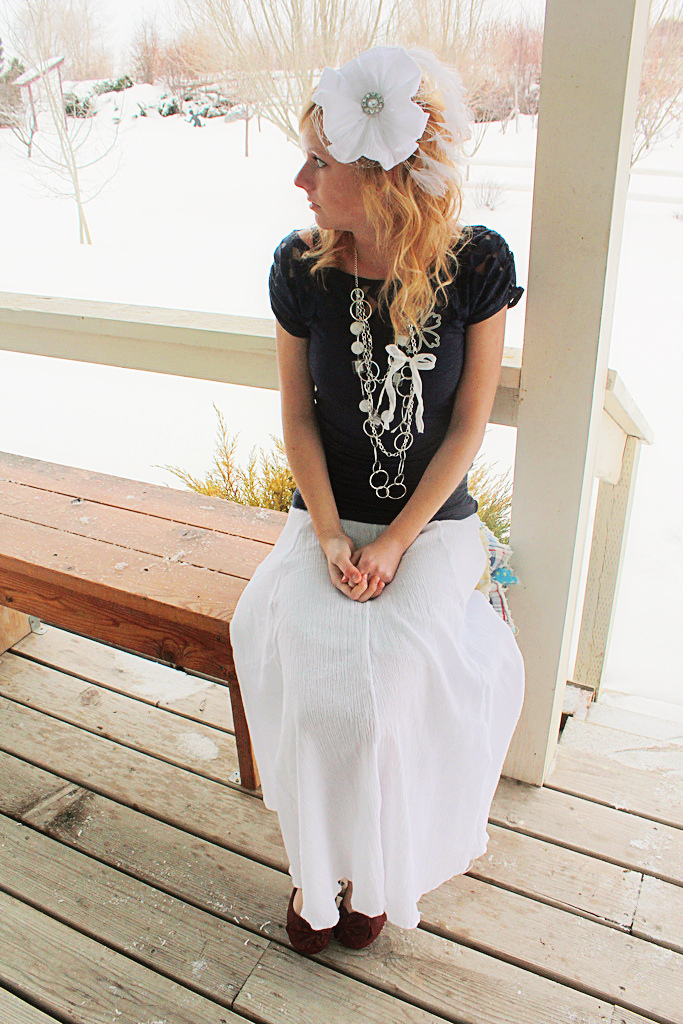
Hello hello!! I am so excited to be showing you all my Prairie Princess Skirt today. I'm pretty sure that it is my all-time favorite thing that I've ever made. It is so versitile and light and extremely frou-frou, which is awesome! Lets get this started.

You'll need:
3 yard of cotton gauze (I found mine at Joanns)
2 inch elastic(enough to fit around your waist, plus an inch)
32 6-in pieces of ribbon or some other kind of tie
freezer paper
First step is to cut out a triangle shape from your freezer paper with a flat top and rounded bottom. My length from top to bottom was roughly 42 inches and the width at the bottom was the width of the freezer paper and the top was approximately 5 inches.

Now lay out the gauze on a flat surface and iron the freezer paper onto the fabric. Make sure that the fabric is turned so that the lines on the gauze will be vertical.

Now cut out around the pattern. Repeat these steps for a total of 8 panels.

Next step is to begin sewing the panels together from top to bottom. I serged mine, but feel free to use a regular sewing machine if that's all you have.

Sew all all of the panels together but do not close the skirt. It should look like this:

Now take a tape measurer and measure from the top of the skirt down 41 inches and pin that length all the way around.


Now attach the last two panels to get the skirts shape and then I used my serger to go around and finish the bottom of the skirt and cut off the excess fabric in one step. If you don't have a serger, simply cut off the excess fabric and do a rolled hem on the bottom.


Now we'll prepare the elastic. I used Dana of MADE's method of sewing and attaching the elastic for her circle skirt and you can find it here.

Then if you have a serger go ahead and finish the top of the skirt.

And attach the elastic to the skirt. It should look like this:

Ok now this is the fun part. Turn your skirt inside out and we'll start pinning where we want the ribbon. Place a tape measurer at the seam on the elastic and starting on the front middle seam place a pin at 8in, 15in, 17in, and 24in.

Move to the next seam and this time you will move the tape measurer up 4 inches and then again pin at 8, 15, 17, and 24.

Alternate the 4 inches up and down the rest of the seams, so every other seam is going to have the ribbons 4 inches higher. Sew the ribbons or ties at each pin with a sewing machine.


It will look like this with all of the ties sewn on:

Now start tying the ribbons together.

By tying each set of ribbons on each seam you get the "All Tied Up" look:

By tying the the highest top set of ribbons and the lowest bottom set of ribons to get "Highs and Lows":

Undo all ties for the look "Let It All Out":
And tie the lowest top set and the highest bottom set for "Caught in the Middle":

So what do you think? And what other looks can you come up with?


3 comments:
I love it! The last picture is a beautiful picture also, with the snow and the beautiful skirt, I love it!!!!!
I LOVE THIS SKIRT!! It looks so couture! I am saving this for when I have a little bit more time to sew! Thanks for sharing!
http://katrihakes.blogspot.com
Sammy, I love this! SO cute. Wish I had a little more time to sew... Maybe someday. Right now, if I get sewing time, it's for little girlie skirts and baby doll diapers. :)
Post a Comment