Tuesday, March 30, 2010

Polka Dot Key Holder

So I was driving down a road in the next town over the other day, and I looked over and saw that Robert's Crafts was closing!! I know, so sad. So I had a quick moment of silence for the passing of one of my favorite craft stores then flipped a B in the road and headed into the parking lot. Everything on sale for 30% off!! I know, right? So I began my back and forth down every aisle to see what I had to have now. (They aren't officially closing until May 15th so I was looking for things that would go fast, figuring I could go back later when the sale gets bigger.) First thing in my cart was a cricut!! I've been wanting one for so long and they only had one left, and it was so mine. Second thing I got was the subject of this tutorial. I think that it was meant to be a calendar holder, but since I was not in need of one of those, I decided to refashion it into a super cute keyholder! Fun!
I didn't get a pic of the complete before but I'll show the work in progress.

I started out by painting the framing a dark brown (the same brown as my tissue paper wall boxes). Then I painted the bead board portions (I love bead board BTW, but a pain in the butt to paint.)
Next step was to add a thin layer of Mod Podge to the center of the calender holder.
Then layer a decor coordinating paper onto the area. I used polka dots but a damask or something like that would be cute too.
Then I took a cute little plain wreath and a semi-matching green fabric and tore a strip off and hung it off the little top hook with a bow.
I then took it home and hung it near my front door to hang our keys on. And you know what? It's adorable! I love it. Now I realize that not everyone has something like this lying around, but the point is, keep your eyes open. Things don't necessarily need to be used for their intended purposes and a lot of times, the thing you come up with in your own head are way better than the original would have been! So happy hunting, I'm sure that you will find something fabulous too!

Friday, March 26, 2010

Tissue Paper Wall Boxes

Oh where has the time gone! Sorry it has been so long with no inspiration for you all.  I had my wisdom teeth removed about a week and a half ago and have be knocked out in bed since.  It wouldn't be a far reach to say that we didn't get along and I would take labor over having my wisdom teeth removed any day.  Seriously.  But I am back now and so excited to show you my...

Tissue Paper Wall Boxes
Yeah!!

I am so in love with these and they were so super easy.  First thing that you are going to need is 4 8X8" wooden wall boxes. I got mine at Porter's for $4.99.  You can go bigger if you want but I figured these would be the easiest sizes to print pics for.  You also need to find 4 flower pictures that you like.  I googled mine so I don't have the link or anything for them but you can do the same and find pictures that you like. I then changed the color to a light sepia and added text to each picture (live, laugh, love, always) and put them in the bottom right of each picture, and then printed them onto cardstock before cutting the paper down to 8X8" squares.
The next thing I did was paint the edges of the boxes a dark brown color and then used the glossy mod podge to attach the pictures onto the tops of the boxes.
After I got all of the pictures attached, I took three of my fave distress inks and used a rag to rub some color around the edges of each box, making sure that each color stood out.
This next step is what made me love these boxes. I wanted them to have an aged look, so I took some white tissue paper and crumpled it into a ball
then uncrumpled it and put a thin layer of mod podge on the pictures and layed the tissue paper over the box.  Then flatten the tissue paper over the top.  It should look wrinkley and old. After it is all pressed down put another layer of mod podge over the top of the tissue paper. Make sure that you use a lot of mod podge to help the tissue paper get a sort of see through look.
Once the mod podge dries, peel off the excess tissue paper and use a sharp knife around the edges to make sure that all of the excess comes off.
Last step is to apply one more layer of mod podge over the top and around all sides to that the finish has a nice shine to it.  Let them dry overnight and wha-la!
These babies are going straight up on the wall in my room, but don't you have a cute little shelf or empty wall space in your home that these would be perfect for? I thought so...


Linked up to: The Idea Room - Link Round Up

Saturday, March 13, 2010

Just in case you missed it!!

We live in Idaho.  Right now it is 30 degrees outside but the news says that it feels like 14.  I agree with them, it's COLD!! So we needed to bring some sunshine into our homes and came up with this fabulous concoction of lemons and daisies and happiness!!  First thing you need is to gather your supplies. You'll need a bucket, or pot of some kind, some moss, green floral dry foam and a styrofoam ball, a bouquet of fake daisies, some fake lemons, a candlestick and a hot glue gun.
Alrighty now the first thing you'll do is fill your pot with the green foam.  Feel free to cut pieces out to fit the pot best.  Next you will attach the candlestick onto the top of the foam.  You may want to insert a dowel here to keep it steady if it is going to be in a high-traffic area (let's be honest, is there really such thing as a non-high-traffic area when you have kids?)
And finish off the structure by gluing the styrofoam ball to the top of the candlestick.  Now you will take the hot glue gun and cover all of the foam and styrofoam with the moss.
Now after it is completely covered with moss, cut the daisies off of the bouquet and hot glue them onto the ball along with the lemons, letting the moss show through too.
After you have them on where you like, cut off some leaves and attach one behind each daisy.  The last step is to add a pretty bow onto your pot.  We used a cute fabric strip but you can use ribbon or raffia or jute or whatever else you have laying around your house.  And Wha-la!
Can you feel the sunshine radiating from it?  I swear it feels like about 90 degrees around these parts.  Ok, so maybe I just cranked up the heat a bit, but I won't judge.  The point is, it looks cute, right?  So go on, get your craft on.

Friday, March 12, 2010

Blog Swap with 733!


Hellloooo Fabulous Readers of Scraps N' Strings!
This is me with my two older kids.
My name is Kim and I blog over at seven thirty three - - - a creative blog.  You'll find a lot of crafty stuff in my little corner of the blogosphere - from fun tutorials, scrapbooking and other freebies to a Boy Crafts Weekly Round-up (every Thursday - come link up!) and Fun Feature Friday where I feature different creative items from around the web!  I am a mother to three great kiddos (9, 2.5, 10 mos) and have a wonderful husband who supports my crafting addiction (for the most part).  Crafting is relaxing to me and is a great way to spend my evenings and weekends winding down after a long day/week of work!
Oh - and if you're quick I have a giveaway for a set of decorative Easter Eggs ending tonight at 11:59 pm EST!

Now let's share a little tutorial, shall we? 
I love to use flowers as embellishments.  There are so many great ways to make flowers out there, and I just came up with one more... I got out some scraps and played around and this is the result:
Very simple, versatile and most of all, cute!
Materials needed:  Ribbon of varying widths, or as I used for this tut, scraps of fabric cut into strips (I cut mine 1/4" wide x 14" long.  For a bigger flower, cut them wider/longer), hot glue or fabric glue, button (optional)
Layer your ribbon one on top of the other.
Sew across the top and braid.  You can tape down your tail or just put the ends in your mouth and braid (as I did! Don't you love my self portrait as I braided, ribbon in mouth, one hand holding ribbon as the other takes a pic?  Yes, I'm a GREAT multi-tasker!).
Sew across the end to secure the braid.
Add a dab of glue to the end and begin to roll, adding glue as you go.
Glue the ends to the side, add embellishments and you have a sweet little flower. (oops!  Got ahead of myself and forgot to take a picture, but easy enough to figure out).
I added one of mine to a pre-purchased headband with a green felt leaf.  I also sewed a loop of elastic onto the back of my other two to create adorable rings.
I have also come up with a no sew version of this flower!
Thank you to Sammy and Ruth for letting me hi-jack their blog for the day!  I hope to see all you crafty ladies over at seven thirty three sometime (we really do have a lot of fun over there!).


Thursday, March 11, 2010

Tomorrow...

...we are blog swapping with Kim from seven-thirty-three! Check out her awesome blog for our new tutorial and take a look at the other cute ideas she has posted on her blog!


Wednesday, March 3, 2010

Jewels Hooks

So I had a little problem...


Ok, so I had a huge problem!!
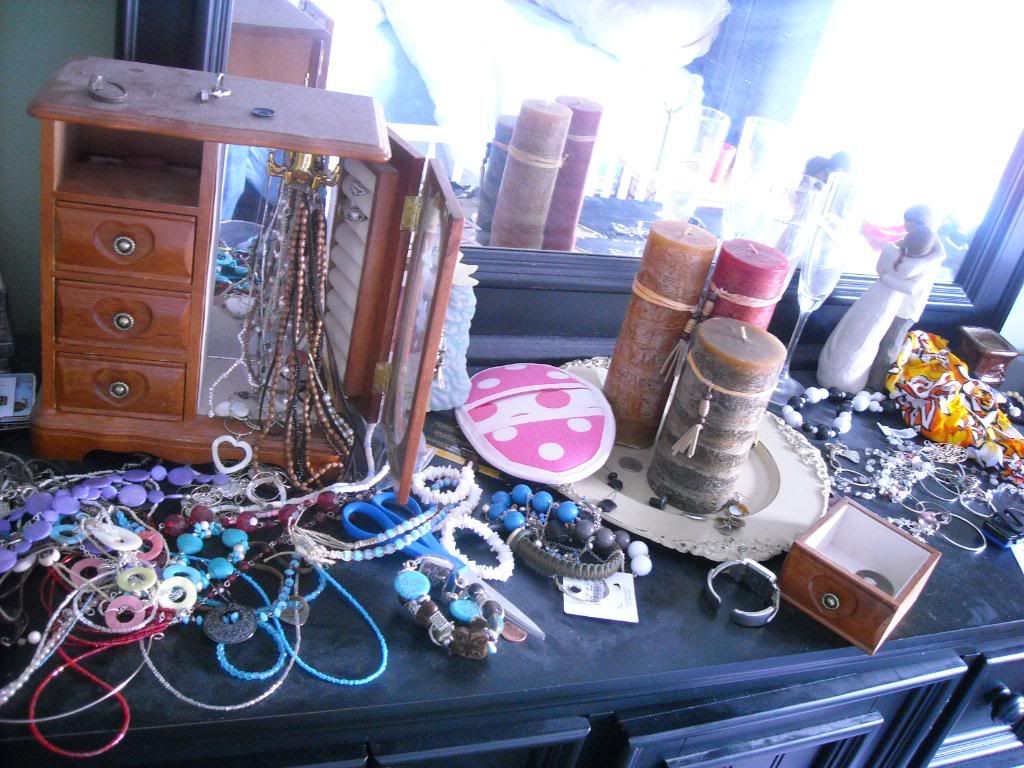
My name is Sammy, and I have an addiction. I 
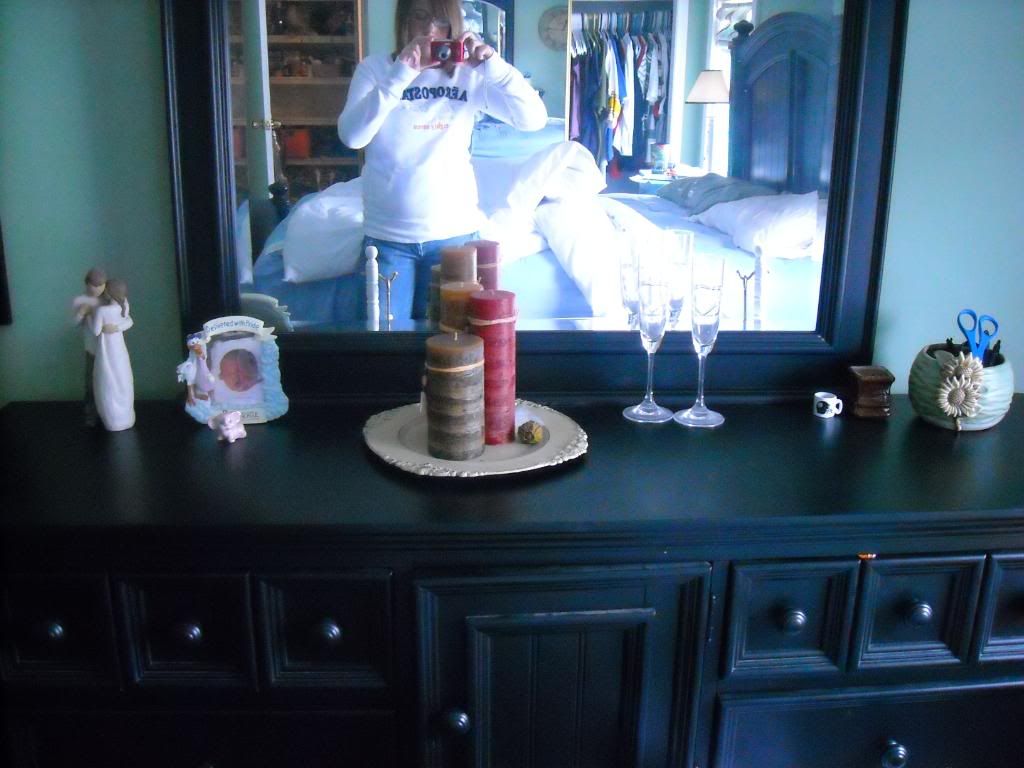
LOVE jewels. All kinds. I buy them and buy them and buy them, and I have absolutely nowhere to keep them. I would rearrange them about once a month, and in about, oh, give or take a day, my dresser would go right back to looking like this.

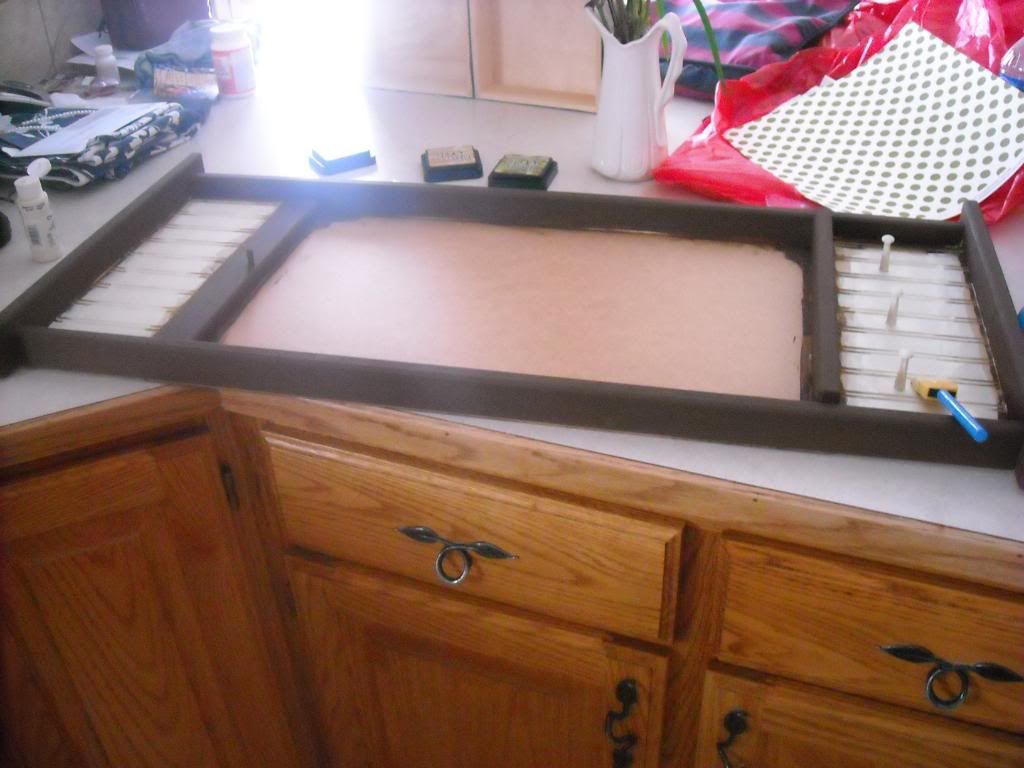
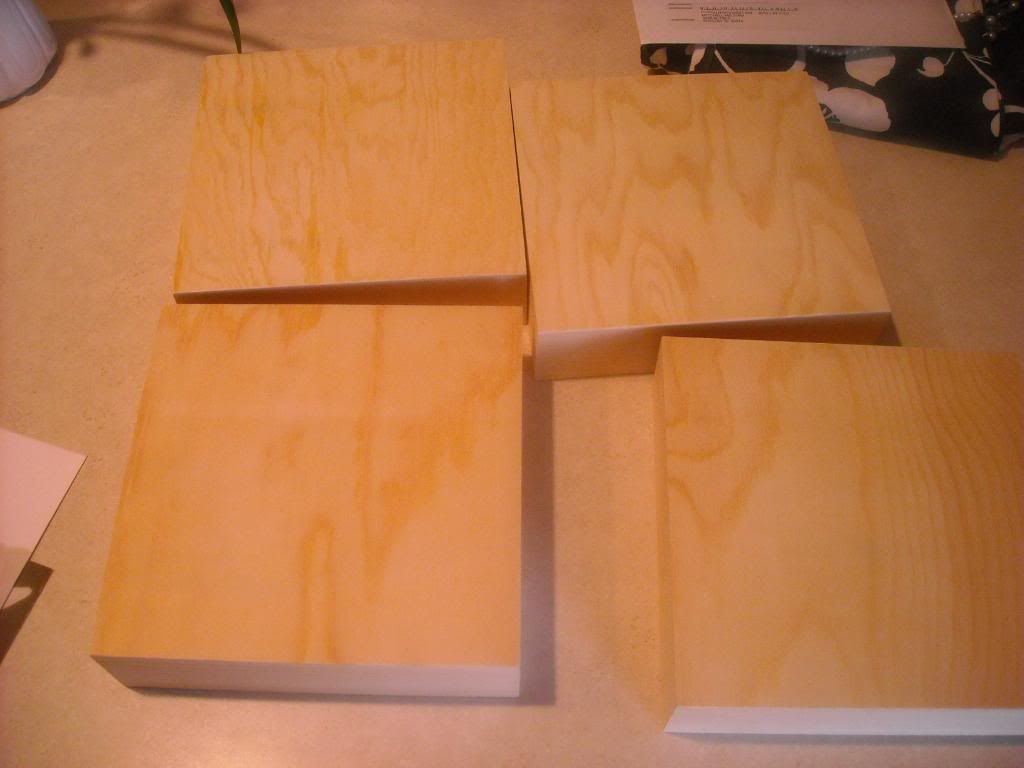
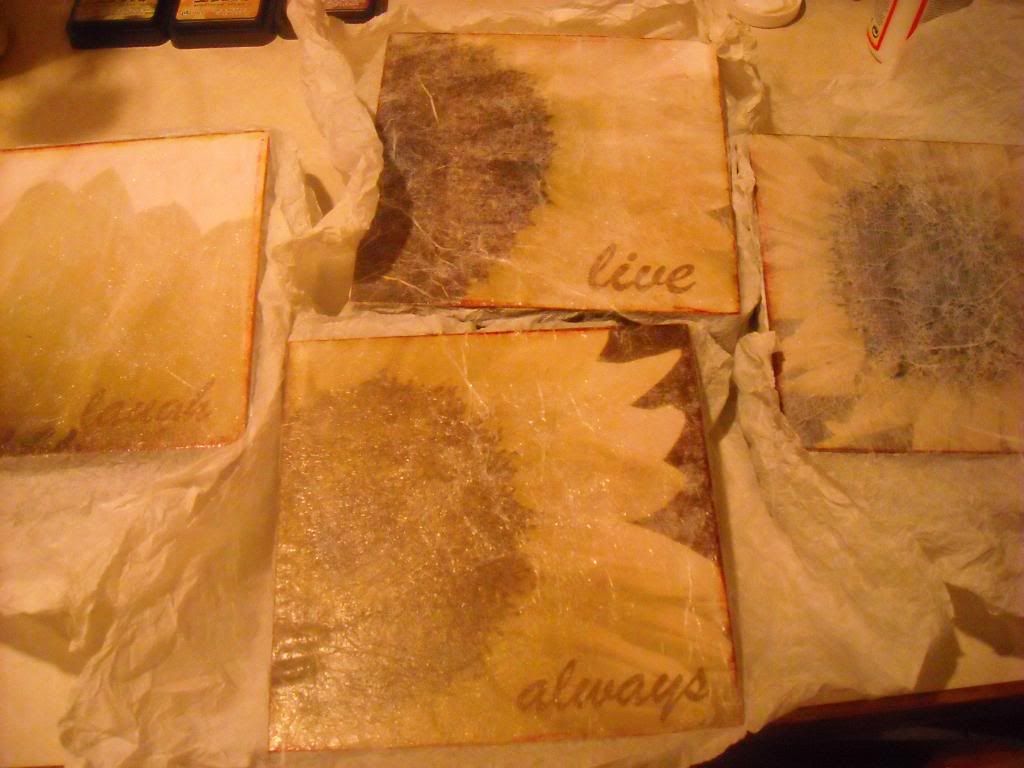
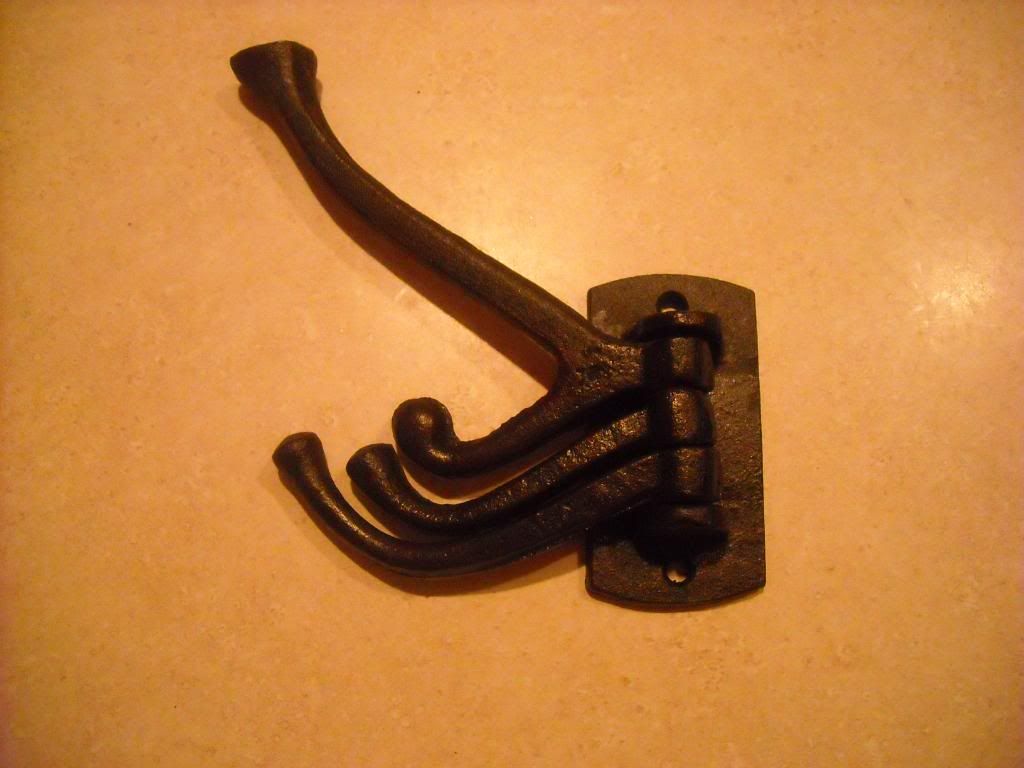
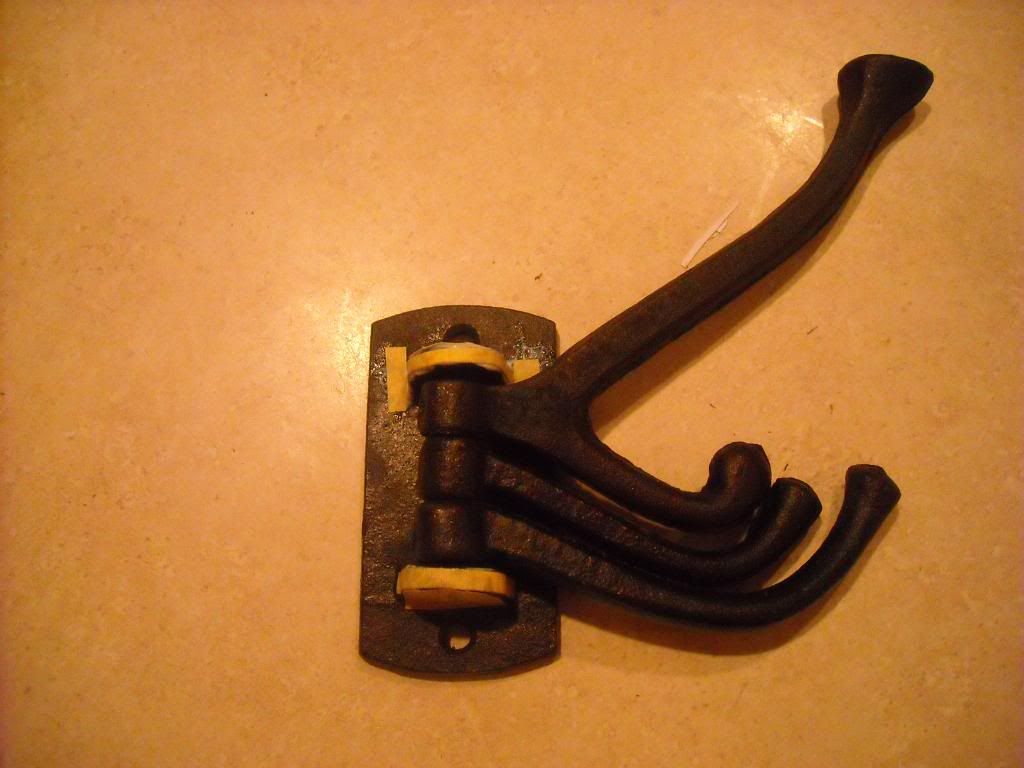
SO! I went out to Porter's and got me some jewels hooks.
But they were 
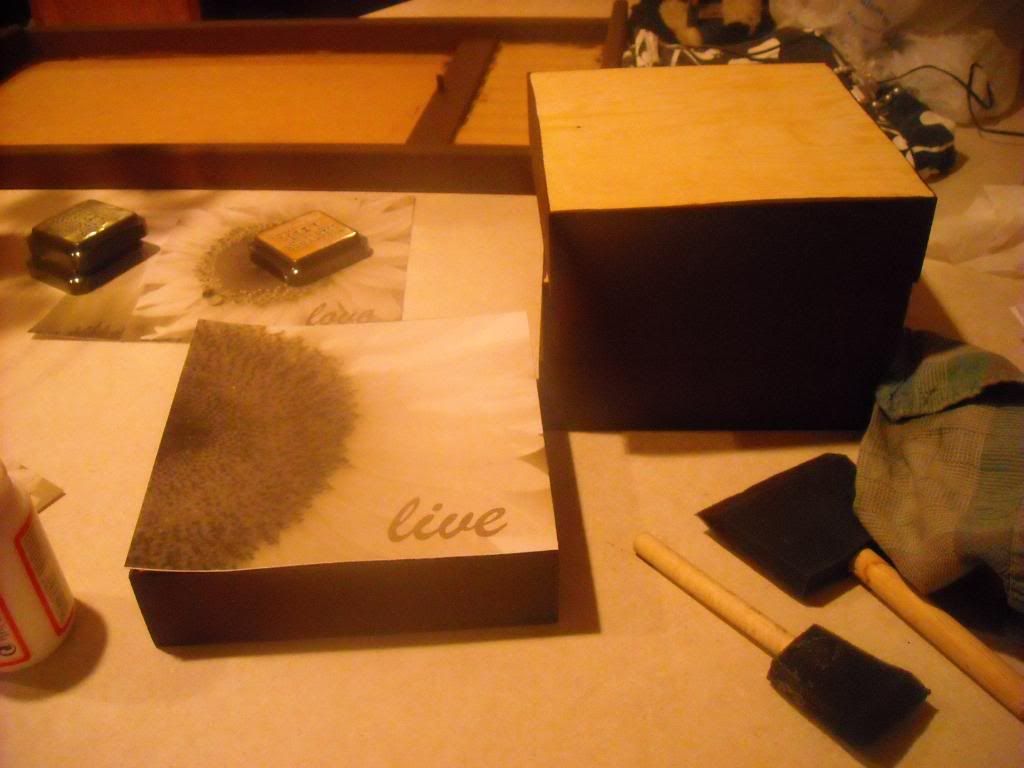
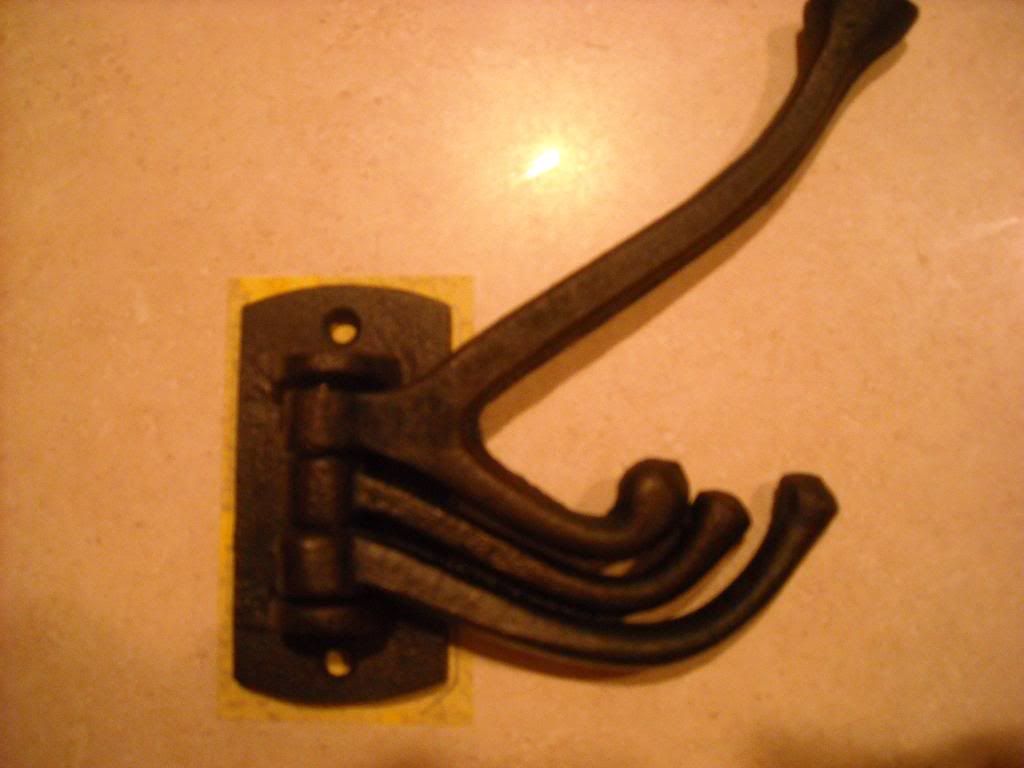
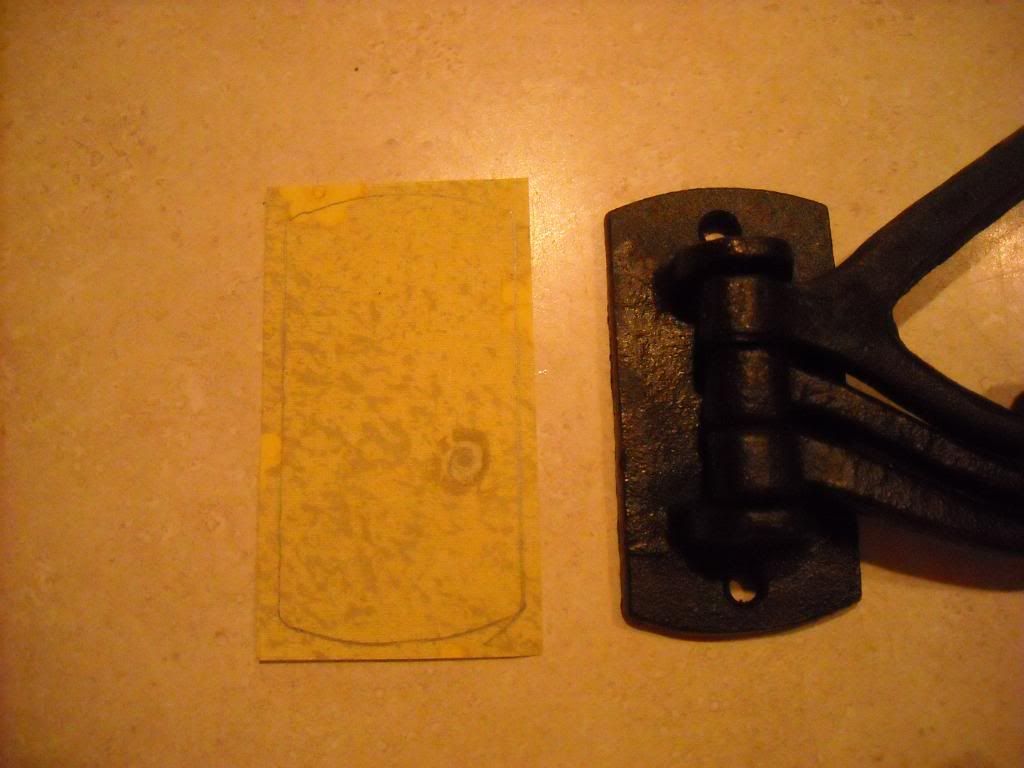
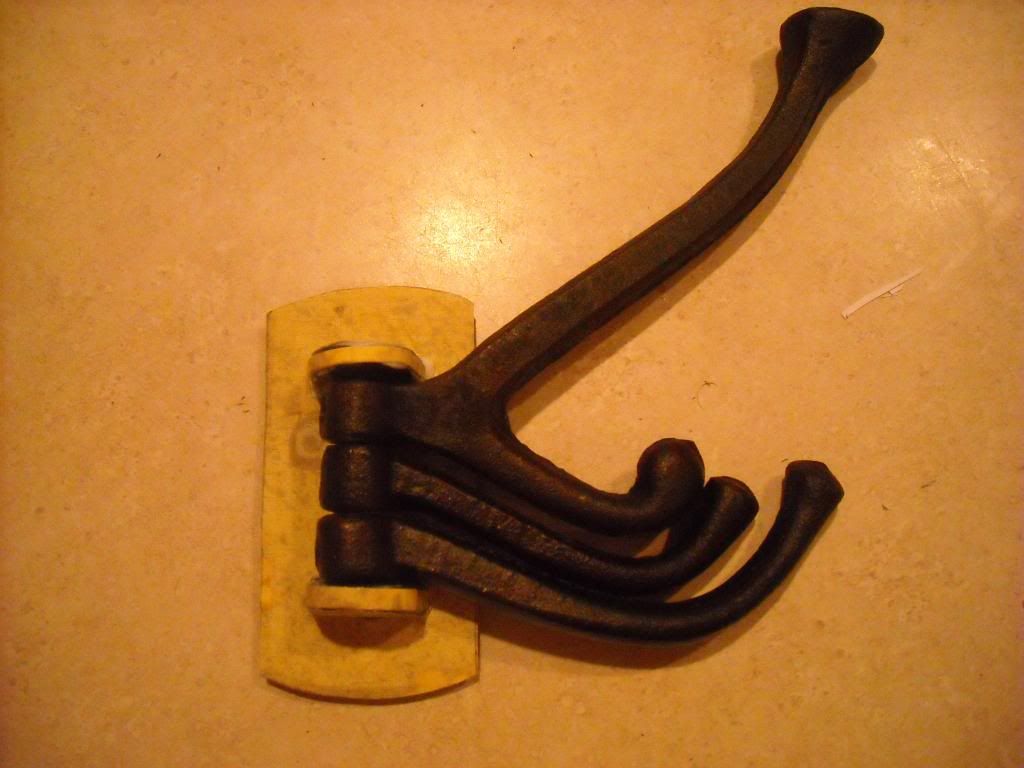
SOOOO boring. So I decided to dress them up a bit. First thing I did was get some cute scrapbook paper. I laid the hook on the paper and traced around the outside.
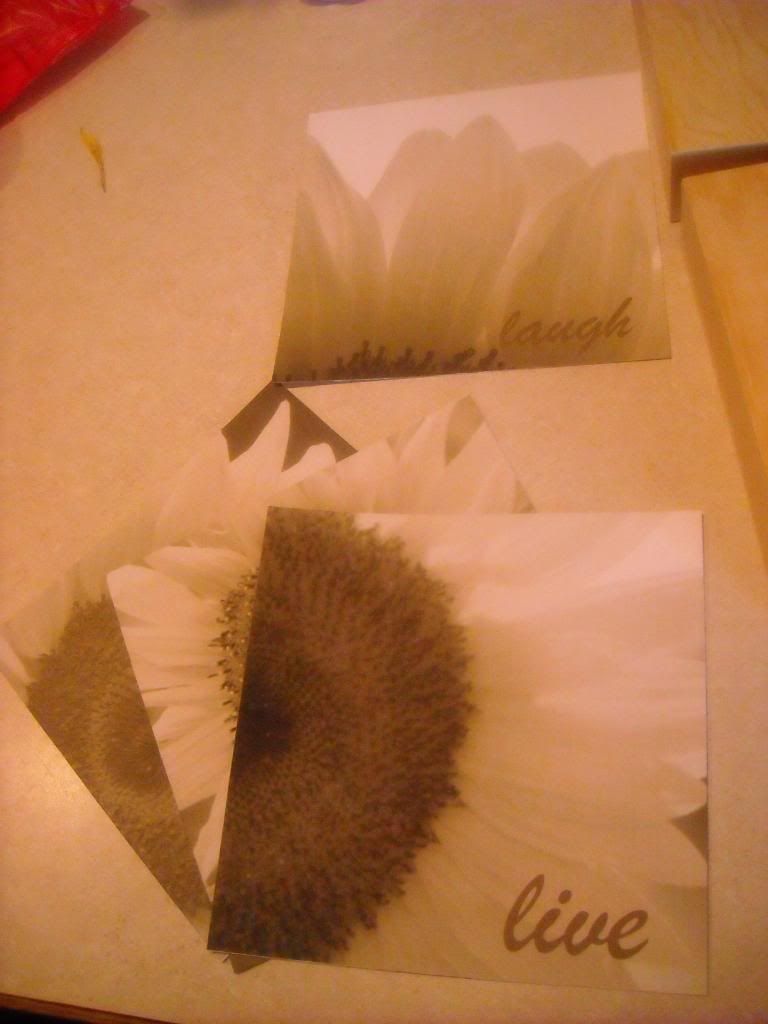
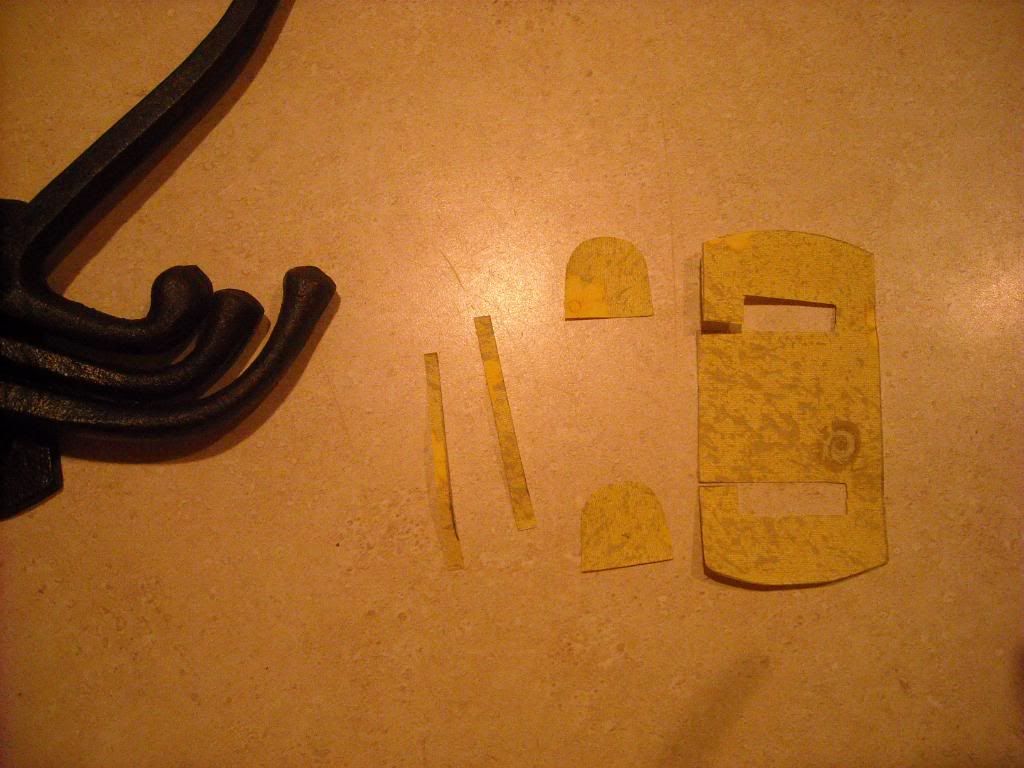
Now just cut around the edges. You'll need to cut pieces out to fit the paper on to the top and the edges of the hinges.
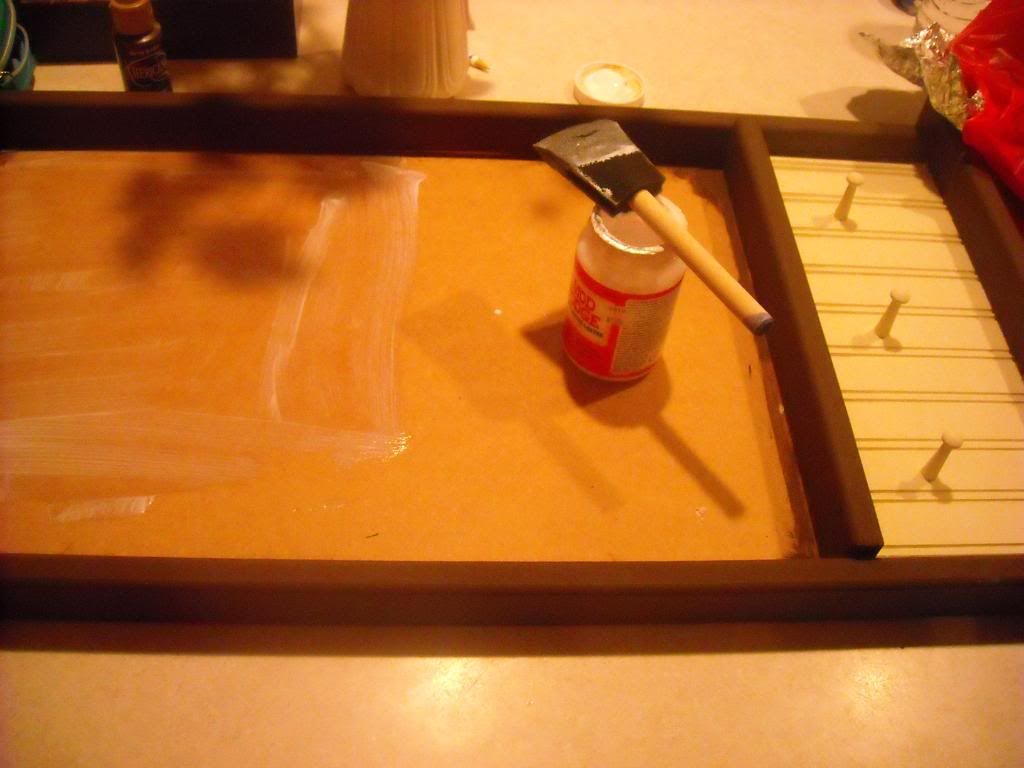
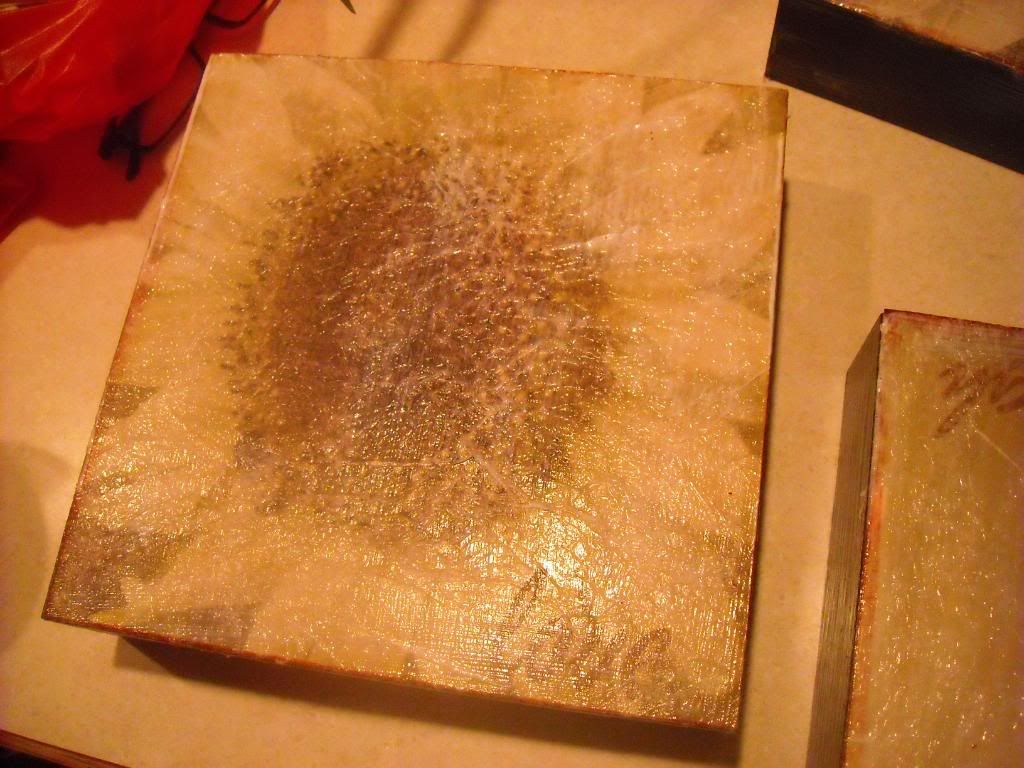
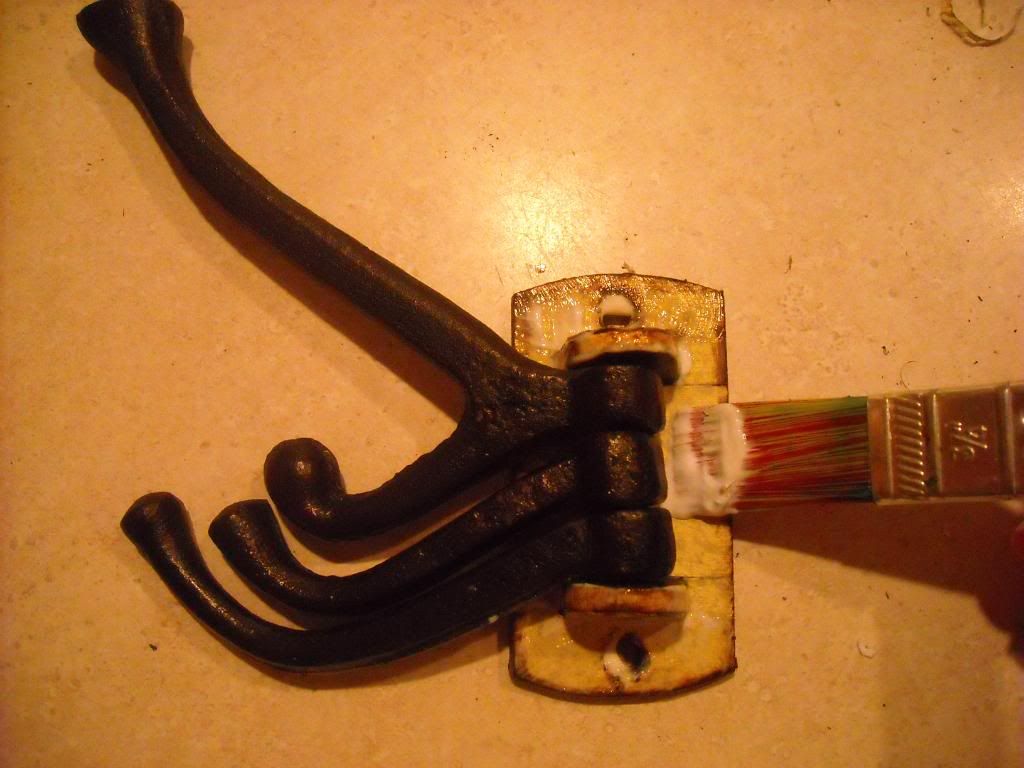
Next start layering on the paper. First paint on a layer of the gloss mod podge and lay the paper over the top, making sure to get all of the bubbles out.
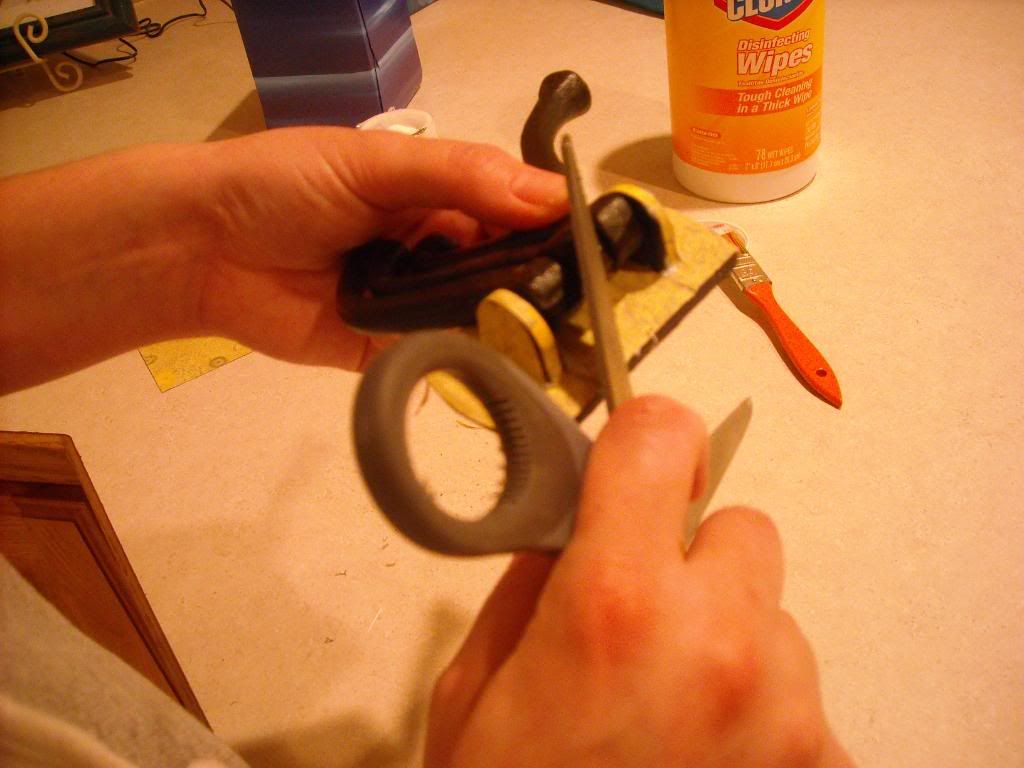
Now take a pair of scissors and scrape around all of the edges to help fit the paper more exactly to the hook. If the paper tears a little bit, don't worry about it, it will look good. Make sure that you poke out the holes for the screws too.
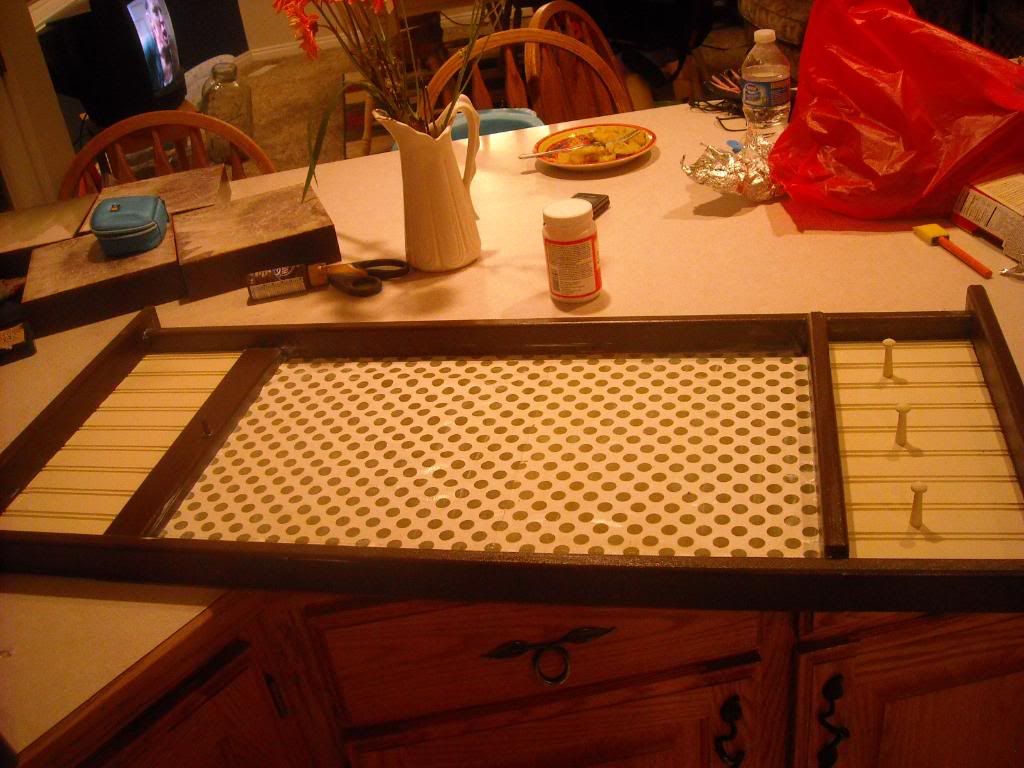
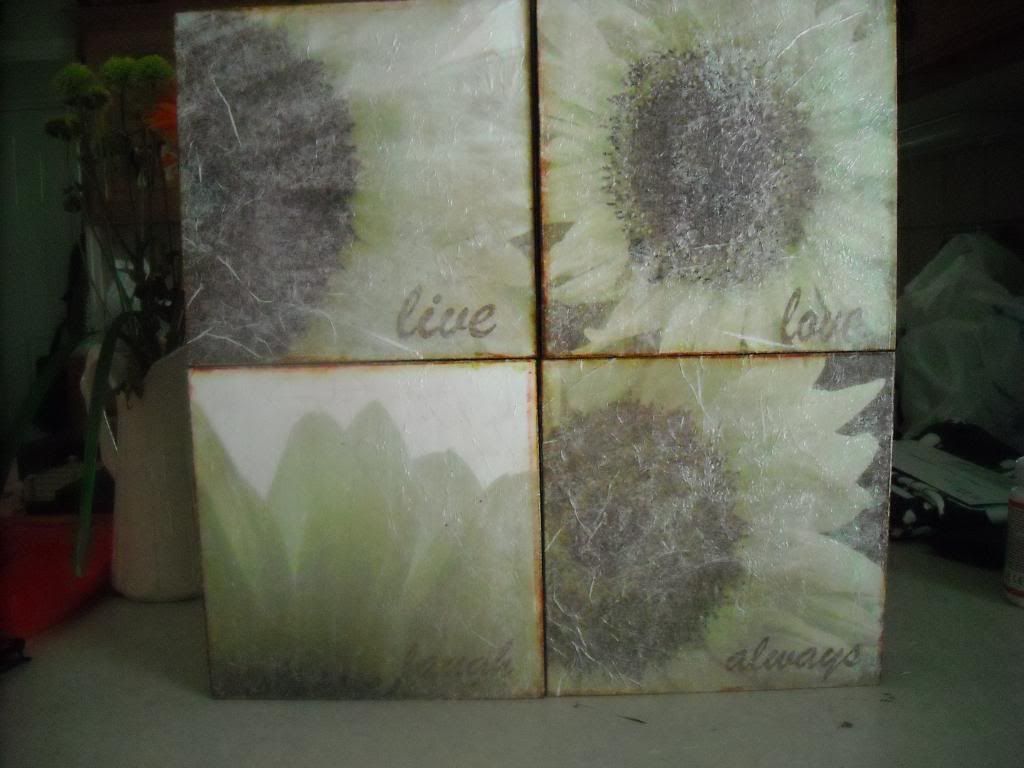
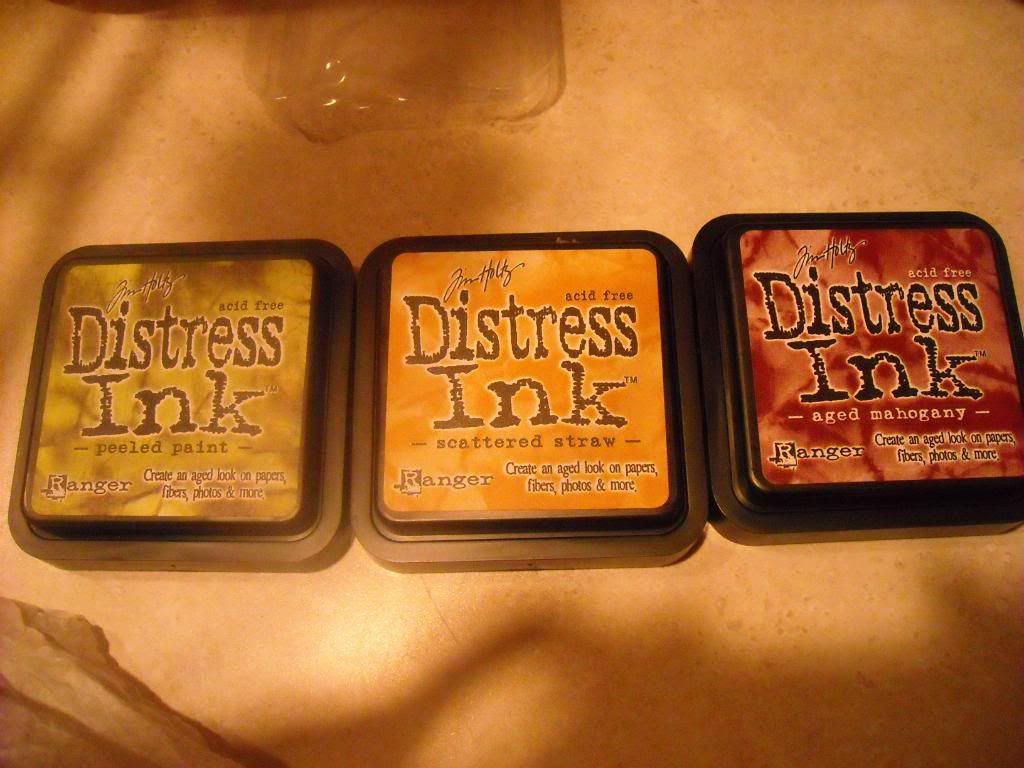
Now I took my distress ink (I absolutely 
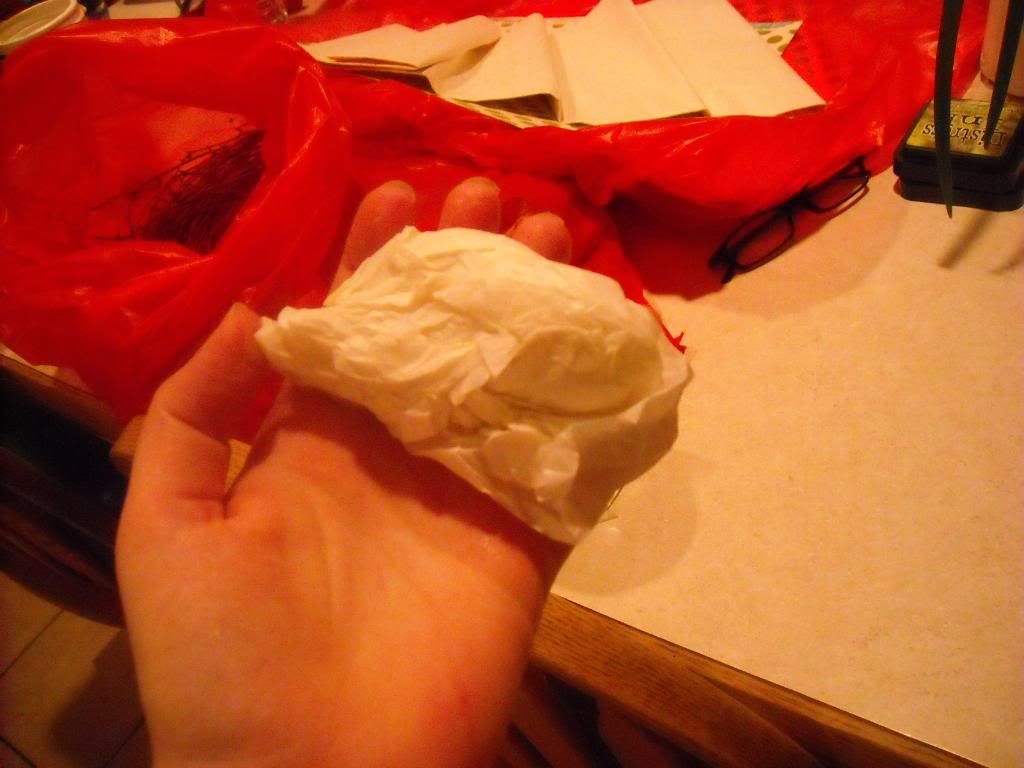
HEART this stuff and went and bought some in every color available!!) in "walnut stain", rubbed a paper towel on it, and rubbed around all edges of the hooks and hinges.
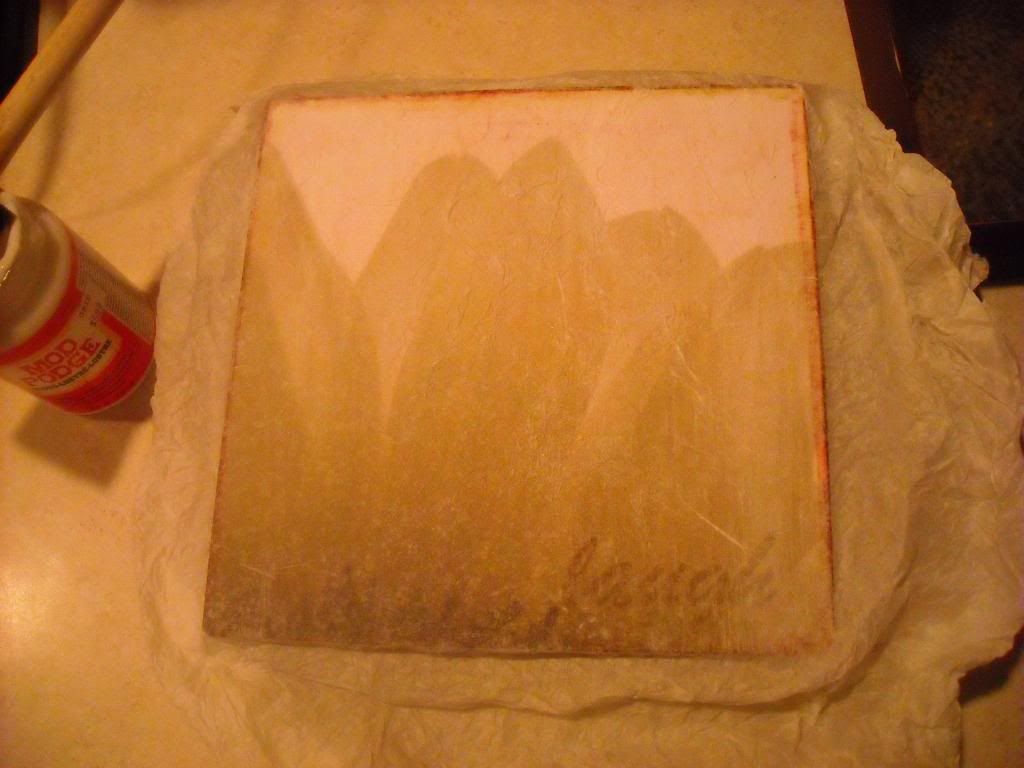
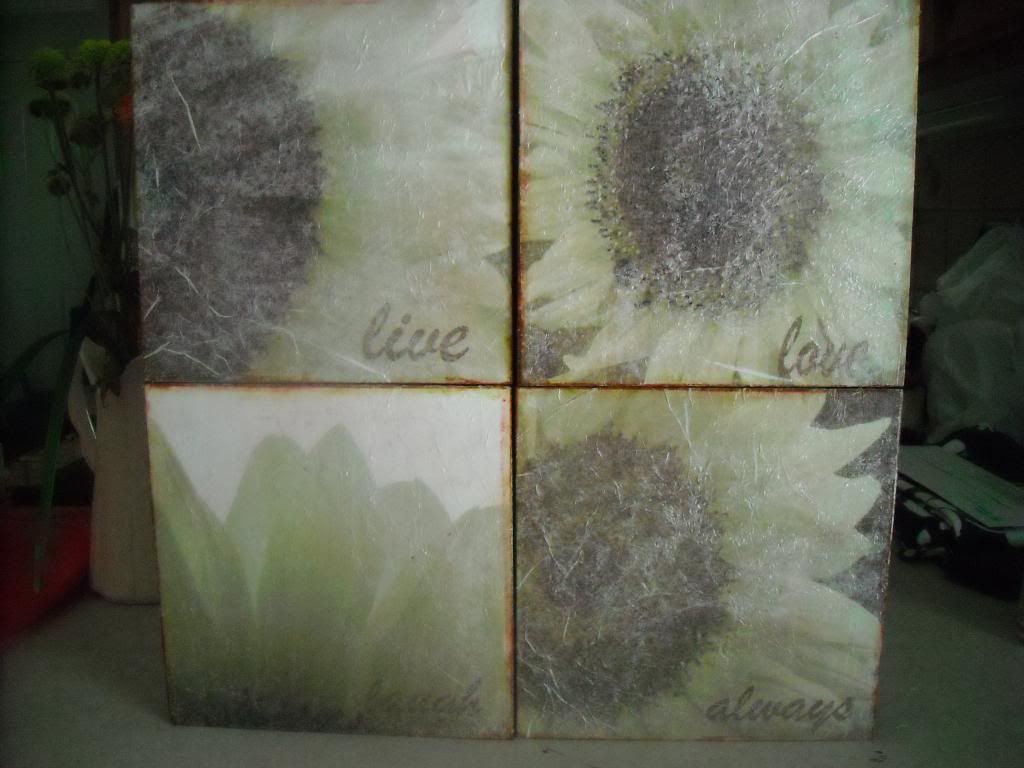
 And cover the entire thing in a good coat of the mod podge.
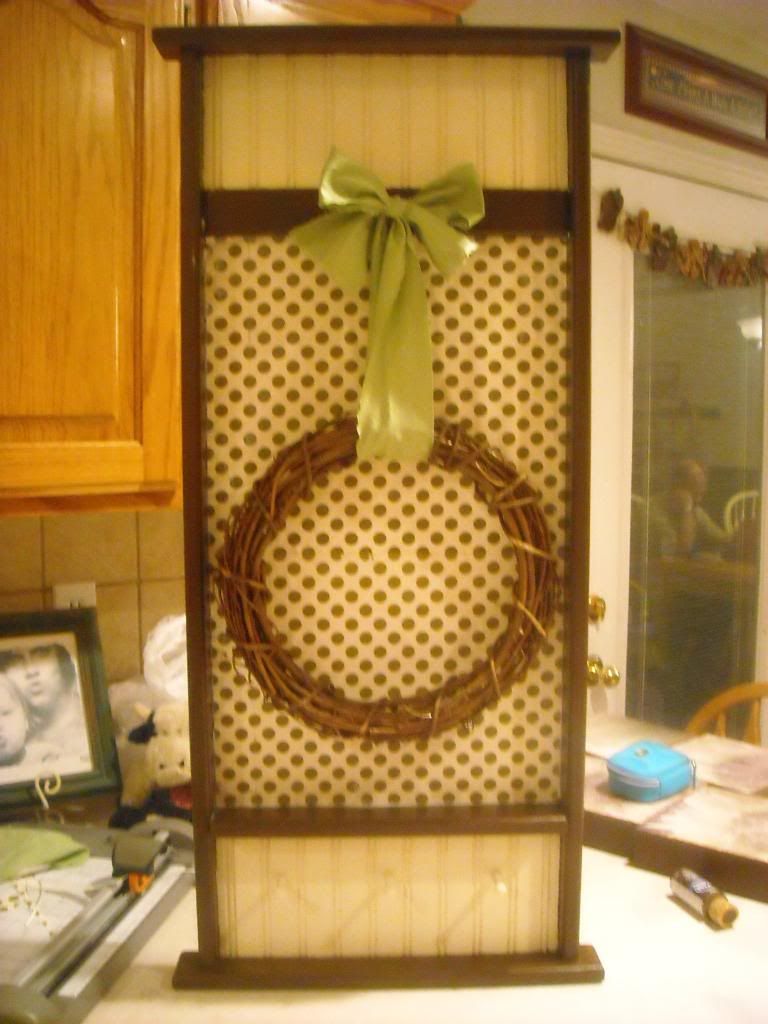
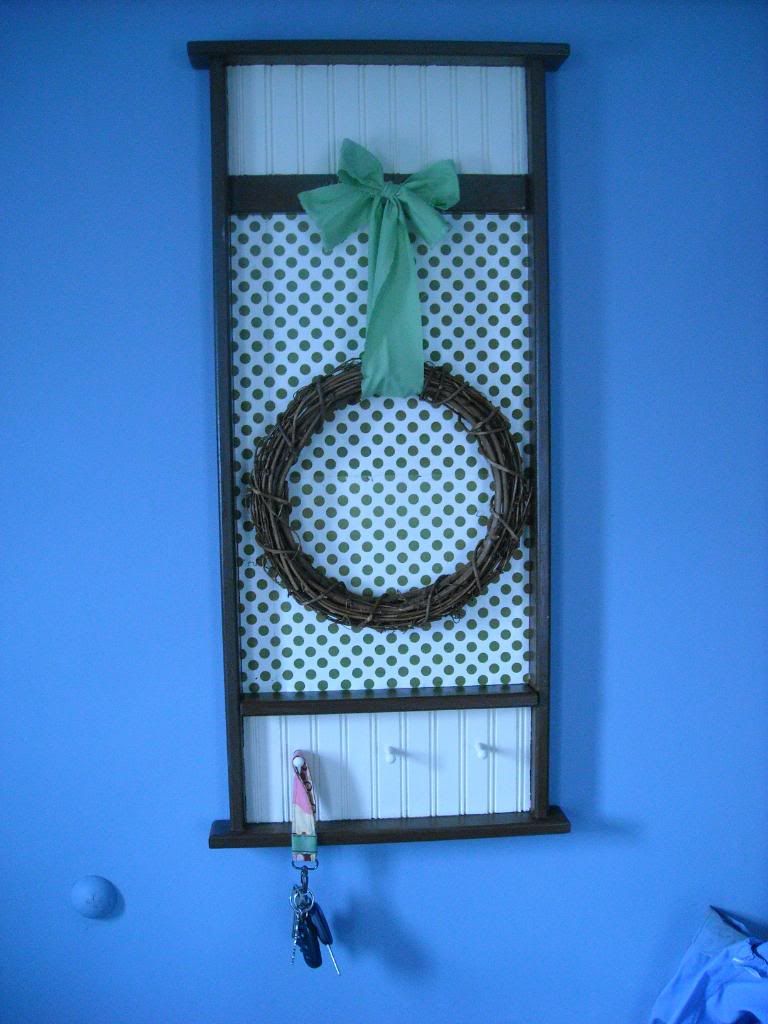
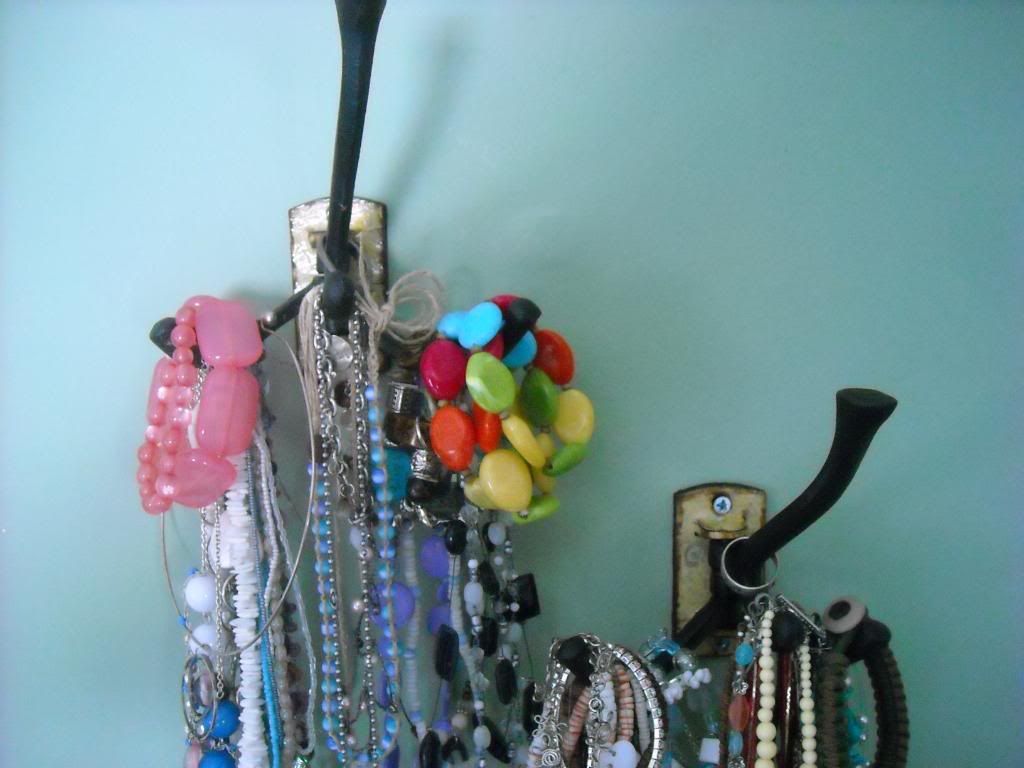
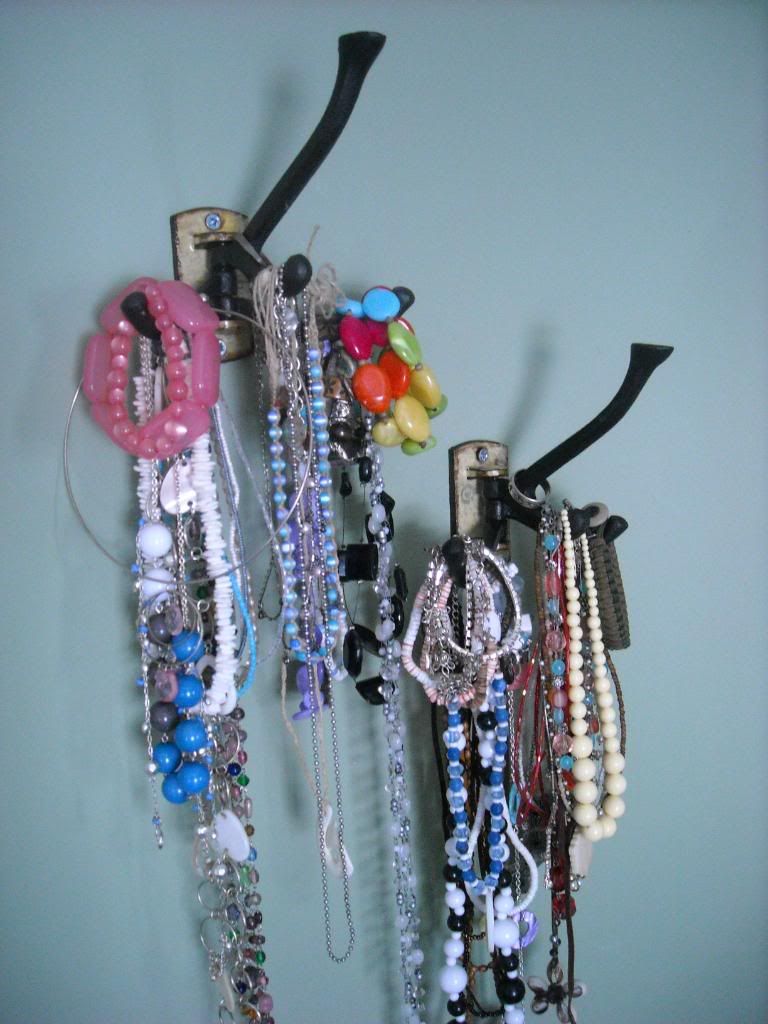
Let them sit until dry, and then screw them into your wall and hang your beautiful jewels on them to display.
So hello, my name is Sammy... and I'm recovering :D, well, at least my dresser is...

 
Simply Yours Designs: Cute Blog Designs